Easy Amigurumi
Amigurumi Arms and Legs: Tube Sizes, Stuffing and Joined Legs
How to size, stuff and close crocheted limbs, an arm pattern and a leg pattern, and how to join two legs into a body with a short chain.
Crochet amigurumi tutorials for beginners
Beginner-friendly tutorials in US crochet terms: the magic ring, basic shapes, and small original patterns for animals, minis, dolls, and more.
Never crocheted a toy before? Work through these four in order.
What amigurumi is, the seven supplies worth buying, the six skills every crocheted toy relies on, and a sensible order of first projects.
A round line in a crochet toy pattern has four parts in a fixed order. This guide decodes them, lists the US abbreviations and shows how to check a stitch count.
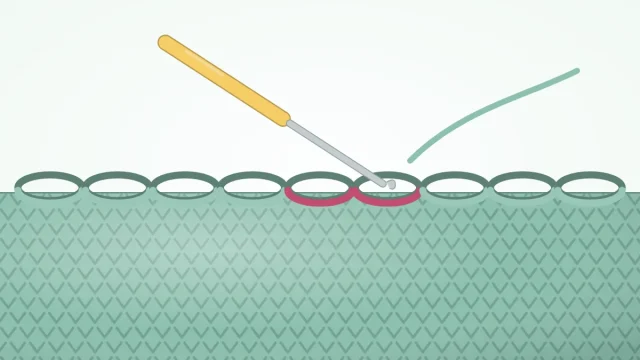
The magic ring explained one movement at a time for right- and left-handers, with how to lock the tail, the chain-2 alternative and fixes for a ring that will not close.
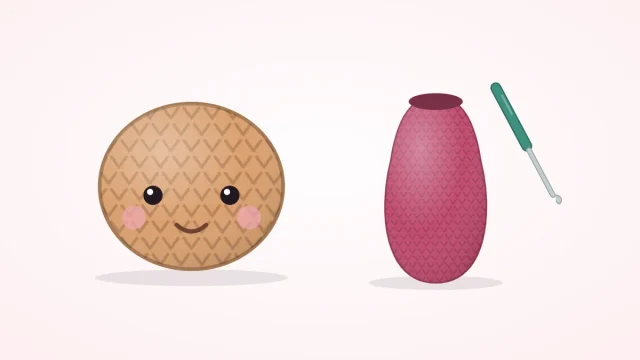
A round-by-round pattern for a 30-stitch crocheted ball, with an explanation of what each section does and a table for making it smaller or bigger.
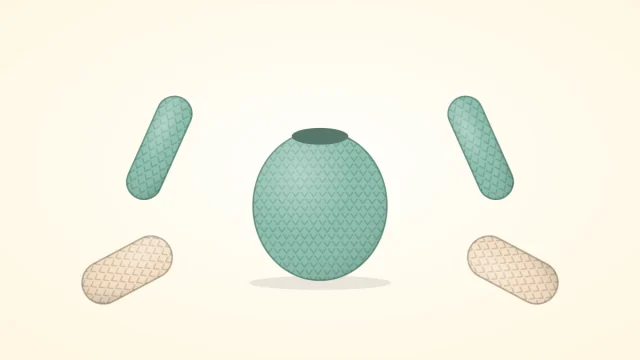
How to size, stuff and close crocheted limbs, an arm pattern and a leg pattern, and how to join two legs into a body with a short chain.
How head-to-body proportions change a toy's character, when to work the two as separate pieces or as one, and a head and body pattern with matching neck openings.
A fault-by-fault troubleshooting list for beginner amigurumi: gaps, inside-out pieces, lost counts, bumpy decreases, lumpy stuffing and lopsided limbs, each with its cause and fix.
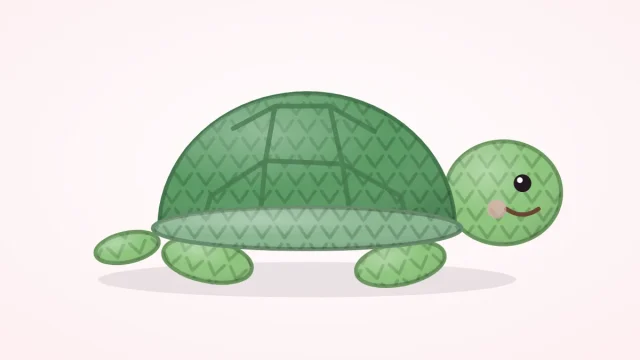
A turtle built from a domed shell with a back-loop ridge and a flat belly disc, plus a round head, four flippers and a tiny tail, with guidance on joining and stuffing a flat-bottomed shape.
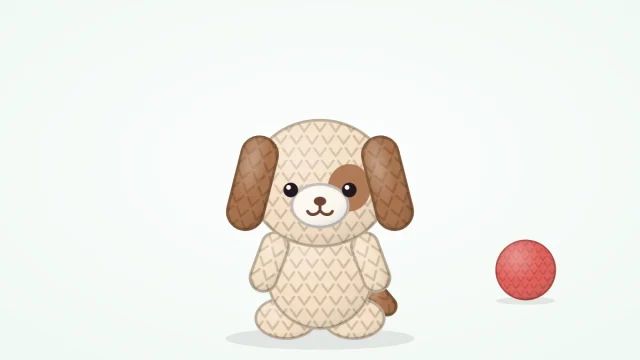
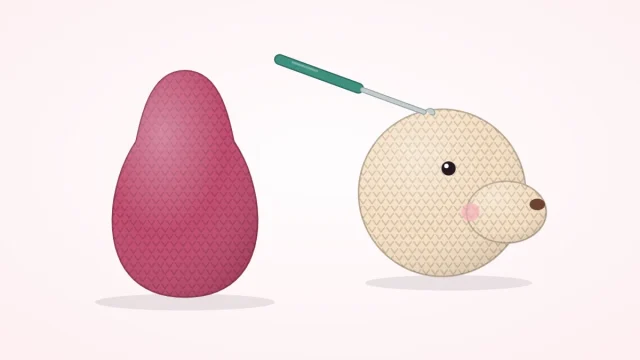
A seated puppy with a separate oval muzzle, floppy ears worked flat, a one-eye patch in a second color and a short tail, with notes on how ear placement changes the breed feel.
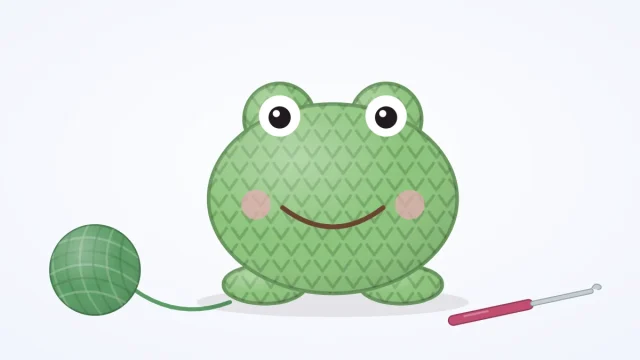
A round frog made from one wide body, two eye bumps and four small feet, with step-by-step help for placing the bumps and embroidering a straight, wide smile.
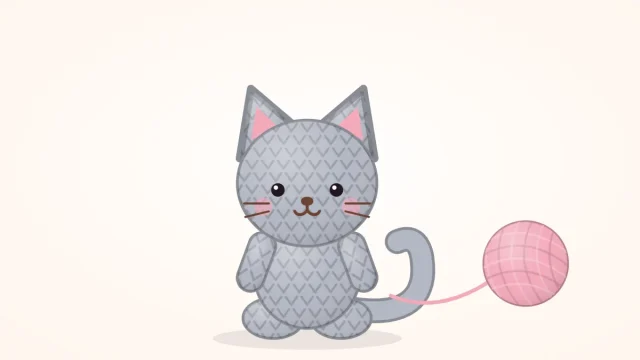
A simple sitting cat with a wide head, a small body, flattened-cone ears and a long curved tail, plus nose and whisker embroidery and coat color ideas.
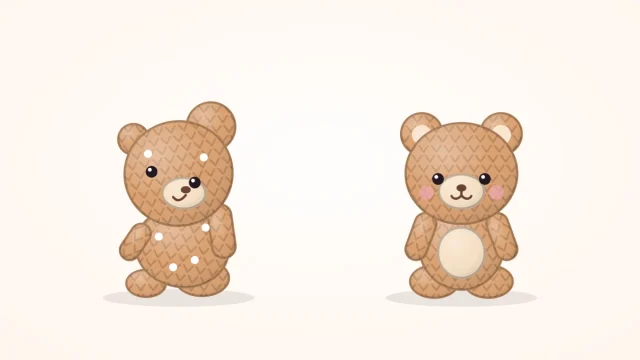
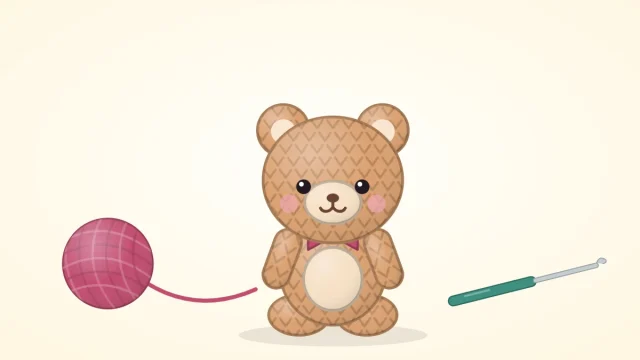
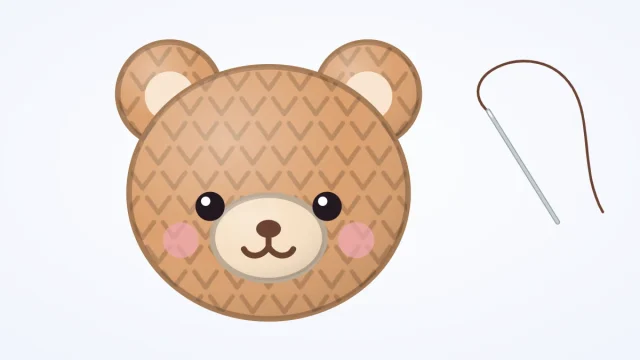
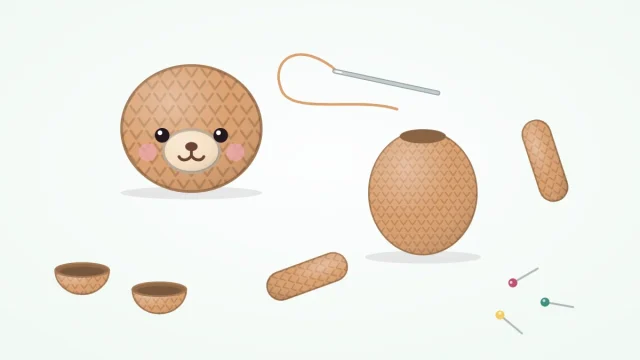
A simple seated teddy bear worked in nine small pieces: head, body, round ears, muzzle, arms and legs, with the assembly order and an embroidered face.
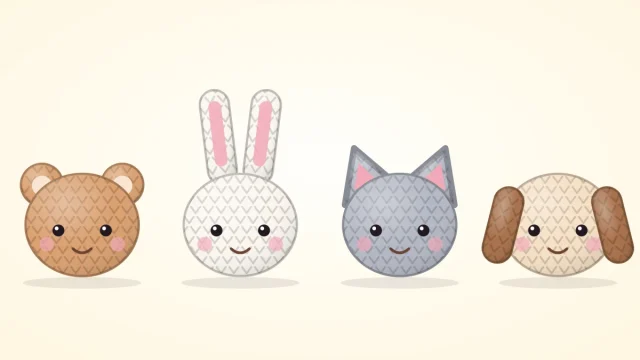
Four short ear patterns (round cup, long, pointed and floppy) and where each one sits on the head, so the same plain ball can become a bear, bunny, cat or dog.
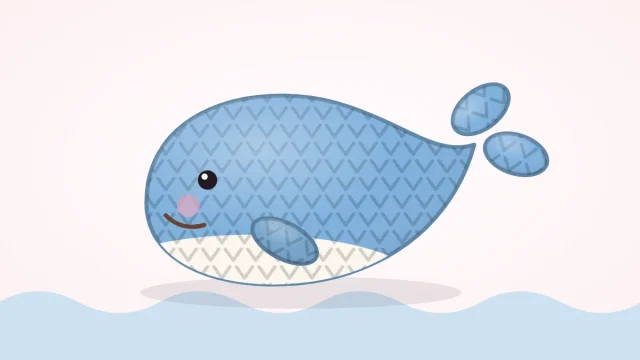
A palm-sized whale with a tapering body, a two-lobed tail fluke and side fins, plus an optional white belly worked with a simple color change.
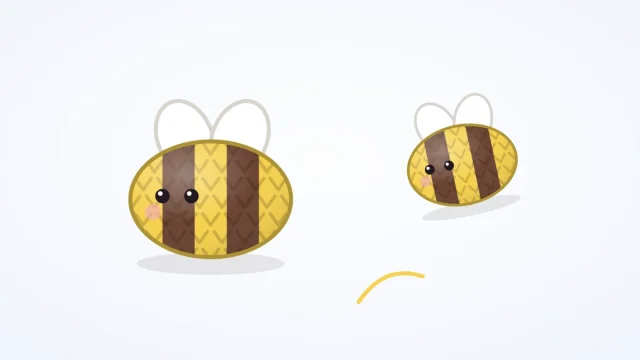
A tiny striped bee made from one oval body and two flat wings, with clear color-change notes and instructions for turning it into a keychain or mobile.
How to make tiny amigurumi: scale any pattern down with finer yarn and a smaller hook, simplify the shapes, handle small stitches, choose tiny eyes and stuff with tweezers.
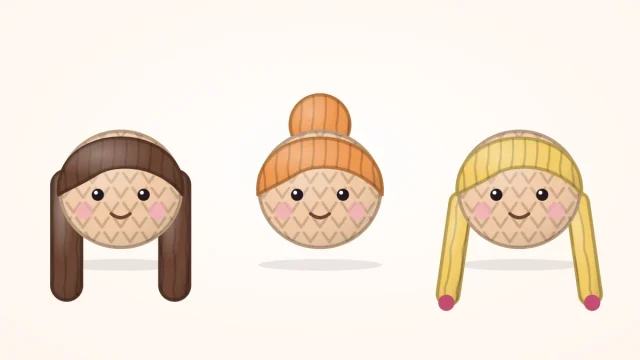
Three ways to add hair to a crocheted doll: a wig cap, rooted strands and chain curls, with a simple bun, braids, and notes on yarn, hairline and trimming.
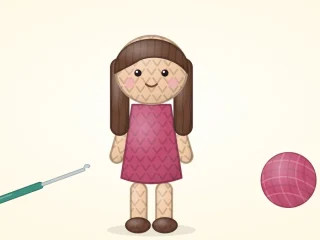
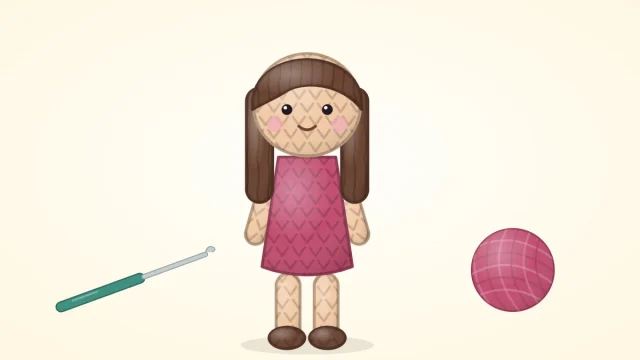
A simple doll worked from the feet up in one piece: joined legs, a dress-colored body, a head continued from the neck, and sewn-on arms and hair cap.
How to shape amigurumi beyond evenly spaced increases: staggered rounds, increases stacked on one side, back-loop rounds, taller stitches and light needle sculpting, with three short practice pieces.
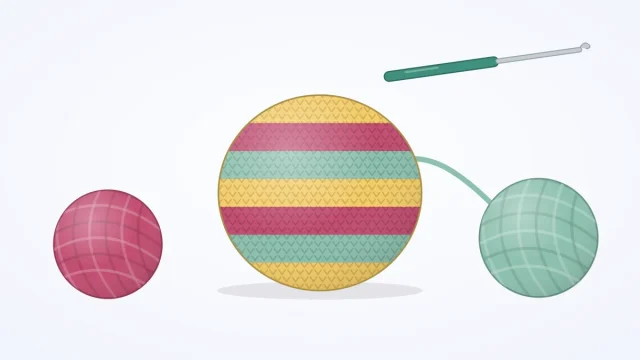
How to change yarn color on the last yarn over, soften the jog that spiral rounds leave in stripes, choose between carrying and cutting, and secure the tails inside the toy.
Where to place eyes so a toy reads as cute, how safety eyes compare with embroidered ones, and how to stitch noses, mouths, sleepy eyes, eyebrows and cheeks with no visible ends.
Assembly decides how a finished toy looks. How to pin and check placement, when to use whip stitch or mattress stitch, and how to sew a head on so it does not wobble.
A practical guide to stuffing crocheted toys: which filling to use, how firm each part should be, how to avoid lumps, when to stuff during the decrease rounds, and how to add weight safely.
Why a standard decrease leaves a bump and a gap on stuffed pieces, how to work the invisible decrease through the front loops, and a small practice ball that puts both methods side by side.
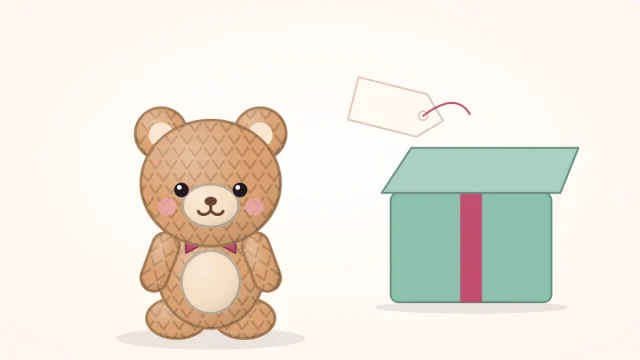
The final steps that make a crocheted toy ready to give: closing the last round neatly, burying ends, tidying fuzz, tug-testing seams, age-appropriate details and care notes.
A turtle built from a domed shell with a back-loop ridge and a flat belly disc, plus a round head, four flippers and a tiny tail, with guidance on joining and stuffing a flat-bottomed shape.
Three ways to add hair to a crocheted doll: a wig cap, rooted strands and chain curls, with a simple bun, braids, and notes on yarn, hairline and trimming.
A palm-sized whale with a tapering body, a two-lobed tail fluke and side fins, plus an optional white belly worked with a simple color change.
A simple doll worked from the feet up in one piece: joined legs, a dress-colored body, a head continued from the neck, and sewn-on arms and hair cap.
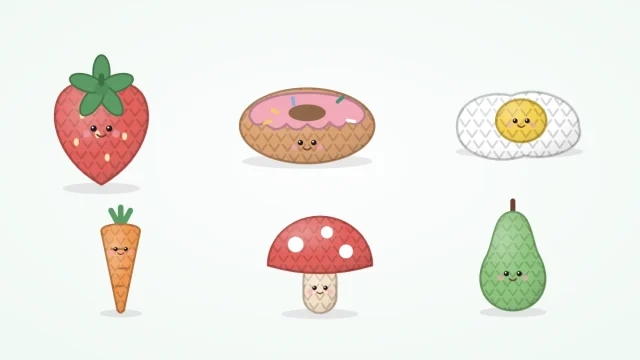
Three short food patterns, a strawberry, a donut and a fried egg, with the basic shape behind each one and notes on carrots, mushrooms, pears, faces and play-food safety.
Start with a simple ball, learn the handful of techniques every pattern uses, and move on at your own pace. Every tutorial on the site is free to read, no sign-up needed.