Amigurumi Shaping Techniques: Tummies, Snouts and Flat Bases
How to shape amigurumi beyond evenly spaced increases: staggered rounds, increases stacked on one side, back-loop rounds, taller stitches and light needle sculpting, with three short practice pieces.
Tutorial at a glance
Materials
- Worsted weight yarn in a light solid color
- 3.5 mm (US E-4) crochet hook
- Locking stitch marker
- Polyester fiberfill
- Blunt yarn (tapestry) needle
- Scissors
Six increases spaced evenly around a round can only ever make one thing: a shape that is the same on every side. Balls, cones and tubes all come from that rule. Amigurumi shaping starts when the rule is broken on purpose, by putting increases where a tummy, snout or cheek should push outward and leaving them out everywhere else.
The standard forms are covered in basic amigurumi shapes. This guide deals with what comes next.
Abbreviations
- MR magic ring
- sc single crochet
- inc increase (2 sc in the same stitch)
- dec invisible decrease (sc 2 stitches together through the front loops)
- hdc half double crochet, dc double crochet
- BLO back loop only
- Rnd round, FO fasten off
Work in a continuous spiral with a stitch marker in the first stitch of each round. If a line is unclear, see how to read amigurumi patterns.
Stagger increases to avoid a hexagon
When every round places its increases directly above the increases of the round before, they line up into six visible spokes and the circle grows corners. The fix is to shift the starting point on alternate rounds, so each increase lands halfway between the two below it.
Staggered flat circle (make 1)
- Rnd 1: 6 sc in MR (6)
- Rnd 2: inc x 6 (12)
- Rnd 3: (sc 1, inc) x 6 (18)
- Rnd 4: sc 1, inc, (sc 2, inc) x 5, sc 1 (24)
- Rnd 5: (sc 3, inc) x 6 (30)
- Rnd 6: sc 2, inc, (sc 4, inc) x 5, sc 2 (36)
Rounds 4 and 6 hold the same number of increases as a standard round. They simply begin with half of the plain stitches and end with the other half, which moves every increase sideways. The same trick works on decrease rounds.
Stack increases on one side
To make one side of a piece bulge, put all of a round’s increases next to each other instead of spreading them out. The fabric gains width in one place only, so it has nowhere to go but outward. Later, a matching group of decreases in the same place pulls the surface back in.
Body with a rounded tummy (make 1)
- Rnd 1: 6 sc in MR (6)
- Rnd 2: inc x 6 (12)
- Rnd 3: (sc 1, inc) x 6 (18)
- Rnd 4: (sc 2, inc) x 6 (24)
- Rnd 5: sc 24 (24)
- Rnd 6: sc 9, inc x 6, sc 9 (30)
- Rnds 7-9: sc 30 (30)
- Rnd 10: sc 9, dec x 6, sc 9 (24)
- Rnd 11: (sc 2, dec) x 6 (18)
- Rnds 12-13: sc 18 (18)
- Stuff firmly, pressing extra filling into the tummy.
- Rnd 14: (sc 1, dec) x 6 (12)
- FO, leaving a long tail for sewing the open neck to a head.
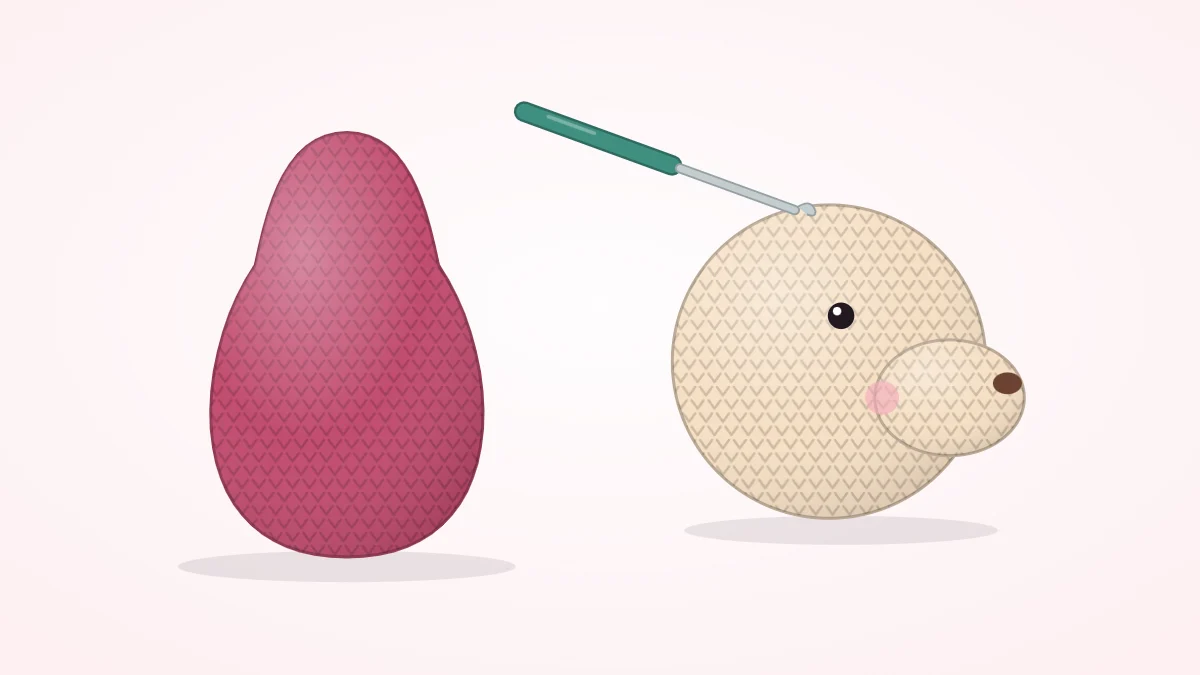
The six increases of round 6 sit in the middle of the round, opposite the stitch marker, so the marker runs up the back and the tummy faces front. The design is meant to give a pear-shaped body about 2.5 in (6 cm) tall in worsted weight yarn with a 3.5 mm (US E-4) hook, depending on yarn and tension.
Watch out
Spiral rounds lean slightly, so the start of the round drifts sideways as a piece grows. On taller pieces, check that a bulge still sits in front. If it has wandered, work one or two extra sc before the next shaping group.
Snouts and cheeks
A snout is the same idea in a smaller area. On a head, work a group of three or four increases in the center front, crochet two or three even rounds, then remove them with the same number of decreases in the same place. The fewer even rounds between, the shorter and blunter the snout.
Cheeks use two small groups instead of one. Place two or three increases on each side of the front with plain stitches between them, and decrease them away a few rounds later. Stuffing finishes the job: push small tufts into each bulge from inside until it holds its shape, as described in how to stuff amigurumi.
Back loop rounds for sharp edges and flat bases
A single crochet normally goes under both loops at the top of a stitch. Working one round through the back loop only leaves the front loops unused, and they form a ridge on the outside. The fabric folds along that ridge, turning a curve into a crisp corner.
Flat-based cylinder (make 1)
- Rnd 1: 6 sc in MR (6)
- Rnd 2: inc x 6 (12)
- Rnd 3: (sc 1, inc) x 6 (18)
- Rnd 4: in BLO, sc 18 (18)
- Rnds 5-8: sc 18 (18)
Without round 4 this would be a rounded cup. With it, the base stays a flat disc and the walls rise straight up, which suits feet, hats, pots and anything that has to stand. The leftover front loops can later hold a ruffle or the edge of a shell.
Taller stitches for small bumps
Stitch height shapes fabric too. A few taller stitches in an otherwise plain round lift that part of the edge, making a low bump without changing the stitch count. On an 18-stitch round, for example:
- Bump round: sc 7, hdc 1, dc 2, hdc 1, sc 7 (18)
The half double crochets ramp up to the double crochets and back down, so the bump has sloped sides. This suits a heel, a brow ridge or the top of a muzzle. Taller stitches are looser than single crochet, so keep the group small or stuffing may show through.
Light needle sculpting after stuffing
Some amigurumi shaping happens after the crochet is finished. Needle sculpting uses a strand of matching yarn pulled through the stuffed piece to draw two points toward each other.
- Thread a blunt yarn needle with yarn in the same color as the piece.
- Enter at a spot that will be hidden, such as the base of the head, and come out where the first dent should be.
- Go back in one stitch away and come out where the second dent should be.
- Again go in one stitch away and return to the starting point.
- Pull both ends gently until the dents form, knot them together, and bury the ends inside.
Pulled between two eye positions, this sinks the eyes slightly and raises a nose bridge between them. Pulled from the bottom of a body up through the center, it flattens a base so the toy sits. Use light tension: pulling hard puckers the fabric and cannot be evened out without cutting the strand.
Frequently asked questions
Why does my flat circle look like a hexagon?
The increases of each round are sitting directly on top of the increases below, which builds six corners. Shift the start of every other increase round by half a repeat so the increases alternate positions. The stitch count stays the same and the edge rounds out.
Can I add shaping to a pattern that does not have any?
Yes, as long as the stitch count at the end of each round stays what the pattern expects. Move a round's increases together instead of spacing them, or add a group of increases and remove the same number a few rounds later. Mark the changes on the pattern so both sides of a pair match.
Is needle sculpting safe for toys that will be played with?
It holds up if the strand is knotted securely and the ends are buried deep in the stuffing. Use the same sturdy yarn as the toy rather than thin thread, and keep the tension light so the strand is not under strain when the toy is squeezed.