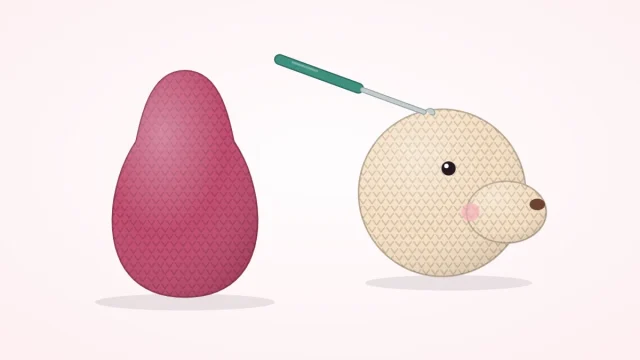
How to Sew Amigurumi Pieces Together Neatly and Securely
Assembly decides how a finished toy looks. How to pin and check placement, when to use whip stitch or mattress stitch, and how to sew a head on so it does not wobble.
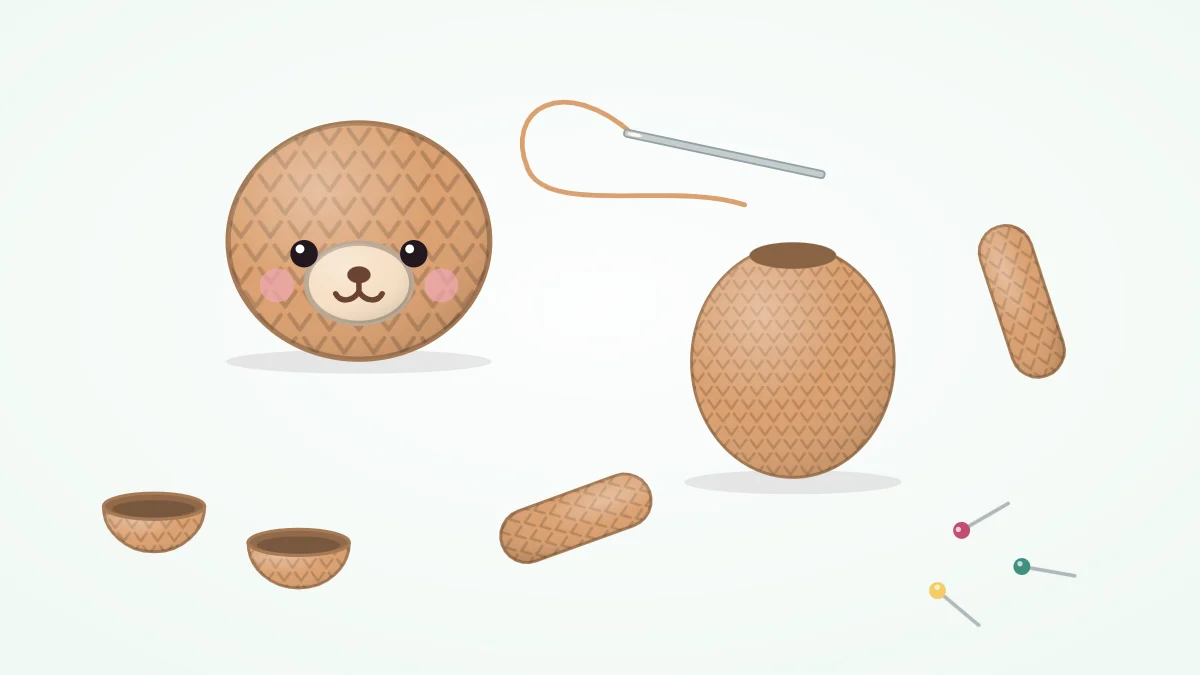
Tutorial at a glance
Materials
- Finished, stuffed amigurumi pieces with long yarn tails
- Blunt yarn (tapestry) needle
- Round-headed pins
- Extra polyester fiberfill for the neck and limbs
- Locking stitch markers to mark placement
- Scissors
A toy can be crocheted without a single miscounted round and still look wrong because one ear sits a round too far back. Learning how to sew amigurumi pieces together is a separate skill from crocheting them, and it rewards slow preparation far more than fast stitching. Most of the work happens before the needle goes in.
Leave long tails when you fasten off
Sewing with the piece’s own yarn tail gives a seam in exactly the right color with one less end to hide. When a pattern says to fasten off (FO) a piece that will be attached, cut the yarn long: a length that wraps about three times around the edge to be sewn is a workable minimum, and a little more costs nothing.
The tail belongs to the piece with the open edge: the arm, the ear, the muzzle, or the neck of the body. If a tail turns out too short, sew with a fresh strand of the same yarn.
Pin everything before sewing anything
Lay out all the finished, stuffed pieces and pin the whole toy together before making a single stitch. Round-headed pins are easy to see and hold well in stuffed fabric; push them through the piece and deep into the stuffing at an angle.
Placement is relative: ears look right or wrong in relation to the eyes, arms in relation to the neck. Sew one ear on before pinning the other and the first one decides everything, whether it was right or not.
Watch out
Count the pins as they go in and count them again as they come out. A pin left inside a stuffed toy is easy to miss by eye and dangerous for whoever receives it.
Check symmetry from every side
A toy that looks balanced from the front can be crooked from above. With everything pinned, turn it slowly and check:
- Front: are paired pieces at the same height? Count rounds from the top of the head down to each ear or arm.
- Top: are they the same distance from the center line? Count stitches between them on both sides.
- Side: does anything tilt forward or back? Compare the left profile with the right.
- Standing or sitting: does the toy balance on the table, or does a leg need to shift?
The guide to amigurumi ears shows where each ear type normally sits.
Whip stitch for open edges
Use the whip stitch when a piece with an open round of stitches at its end, such as an arm, ear, muzzle or tail, is sewn onto a surface.
- Thread the long tail onto a blunt yarn needle.
- Pass the needle under one stitch of the main body, right where the edge of the piece touches it.
- Bring the needle up through both loops of the next stitch on the open edge, from the inside of the piece to the outside.
- Pull snug, so the edge sits flat on the surface without puckering it.
- Repeat, moving one stitch along the edge and a matching distance along the body each time.
- Before the gap closes, top up the stuffing if the piece is stuffed, then finish the round.
Work every stitch of the open edge; skipped stitches leave gaps that open when the limb is pulled. This is the stitch to learn first, because most questions about how to sew amigurumi pieces together involve an open edge.
Mattress stitch for closed pieces
When two closed surfaces meet, such as a ball-shaped head on a closed body or a flattened ear with no open round, there is no edge to whip over. The mattress stitch, also called the ladder stitch, joins the two fabrics with a seam that disappears when tightened.
- Take a small bite of fabric on the first piece: needle in, under one stitch, and out.
- Cross straight over and take an equal bite on the second piece, directly opposite.
- Go back to the first piece, entering right where the yarn last came out.
- After three or four bites, pull the yarn. The rungs of the ladder close and the two surfaces draw together.
| Situation | Stitch | Why |
|---|---|---|
| Open-ended arm, ear, muzzle or tail onto a body | Whip stitch | Catches every stitch of the open edge and anchors it to the surface |
| Open neck of a body onto a closed head | Whip stitch, worked around twice | Strong and quick; the second pass stiffens the neck |
| Two closed or flattened surfaces | Mattress stitch | The seam is hidden between the two fabrics |
Sewing the head to the body firmly
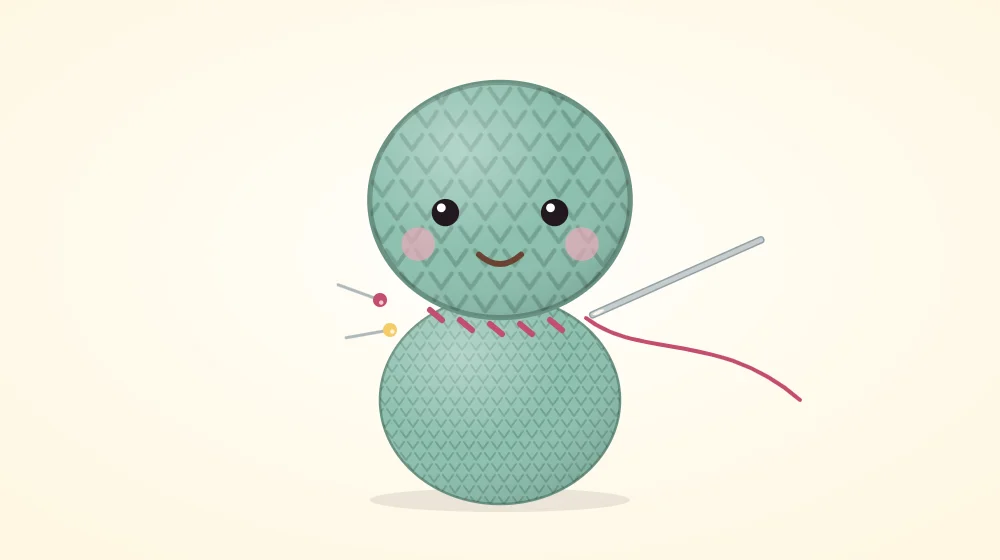
The neck is the join that fails most often, because it carries the heaviest piece on the narrowest seam. Stuff the body right up to the open edge, pin the head in place with at least four pins spaced around the neck, and check from the front and both sides that it sits level.
Whip stitch around the neck, catching one head stitch for each stitch of the body’s last round. When about a third of the seam is still open, push extra stuffing into the neck until it feels as firm as the rest of the body, then close the round. Without cutting the yarn, sew around a second time, catching head stitches one round further out. That second ring of stitches widens the base the head rests on and takes most of the wobble out. More on neck construction is in the guide to amigurumi heads and bodies.
Hiding the tail
When the seam is complete, make one small extra stitch in the seam line and pass the needle through the loop before it tightens, forming a knot that sits against the fabric. Then insert the needle right beside the knot, travel through the stuffing, and come out on the far side of the piece. Pull the yarn slightly taut, snip it close to the surface, and the cut end springs back inside. The full routine for ends is covered in finishing amigurumi.
No-sew options
Some joins can be crocheted instead of sewn, which is stronger and leaves no seam to get wrong.
- Legs joined into the body: two legs are connected with a short chain and the body is worked around both, as shown in amigurumi arms and legs.
- Arms crocheted in: flatten the top of a finished arm, hold it against the body, and work the next few single crochet stitches of the body round through the arm and the body together.
- Head and body in one piece: decrease to a neck, then increase again for the next section without fastening off.
The trade-off is that a crocheted-in piece cannot be moved afterward; the only correction is to pull the work back.
Frequently asked questions
Should I use sewing thread or yarn to attach amigurumi pieces?
Use the same yarn the piece was crocheted with, ideally its own long tail. It matches the color and thickness of the fabric, so the stitches blend in. Sewing thread is thin enough to cut into yarn fibers over time and is harder to hide.
Why do my sewn-on pieces look crooked even though I pinned them?
The seam often pulls a piece toward the side where the sewing started. Keep at least two pins in place until the seam is more than halfway around, and check the position again after the first few stitches while they are still easy to undo.
Can I glue amigurumi pieces instead of sewing them?
Sewing is the dependable method for anything that will be handled. Glue stiffens the yarn, can show through the stitches and may let go when the toy is washed or pulled. For a toy given to a child, attach every piece with yarn.