Amigurumi for Beginners: Supplies, Skills and First Projects
What amigurumi is, the seven supplies worth buying, the six skills every crocheted toy relies on, and a sensible order of first projects.

Tutorial at a glance
Materials
- Worsted weight (#4 medium) yarn in a light color
- 3.5 mm (US E-4) crochet hook
- Locking stitch marker
- Polyester fiberfill
- Blunt yarn (tapestry) needle
- 6-8 mm safety eyes or black yarn for embroidered eyes
- Small sharp scissors
Amigurumi is the Japanese word for small stuffed toys made from yarn, and in crochet it comes down to one stitch worked round and round in a tight spiral. That is why amigurumi for beginners is a realistic goal even for someone who has never held a hook: there is very little to learn before the first toy, and every skill is used again in each project that follows.
What makes amigurumi different from other crochet
A scarf or blanket is worked flat, back and forth in rows, with a soft, drapey fabric. Amigurumi reverses all three of those things:
- It is worked in the round. Pieces grow as a continuous spiral, with no joining and no turning at the end of a round.
- The fabric is dense. A hook smaller than the yarn label suggests packs the stitches together so the stuffing stays hidden.
- It is three-dimensional. Adding stitches makes a piece wider and removing them makes it narrower. That is all the shaping there is.
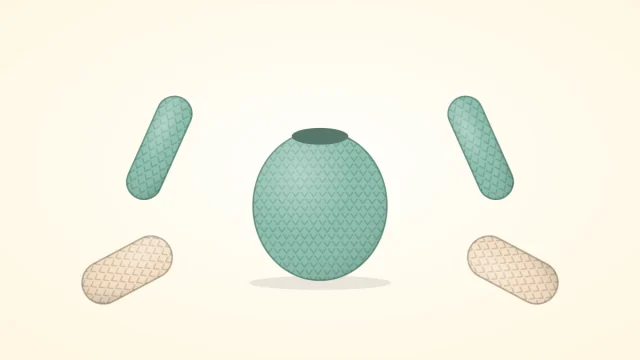
Most toys are a handful of simple shapes, such as a ball for the head, a pear for the body and tubes for the limbs, made separately, stuffed and sewn together.
The short supply list
Seven things cover nearly every beginner project:
- Yarn: worsted weight (#4 medium) cotton or acrylic in a light, solid color. Light, smooth yarn shows each stitch clearly; dark, fuzzy and plush yarns hide them.
- Hook: 3.5 mm (US E-4), which is deliberately small for this yarn.
- Locking stitch marker: a clip that opens and closes, used to mark the first stitch of each round.
- Polyester fiberfill: the stuffing.
- Blunt yarn (tapestry) needle: for sewing pieces together and hiding yarn tails.
- Safety eyes, 6-8 mm, or a length of black yarn for embroidered eyes.
- Small sharp scissors.
Watch out
Safety eyes, beads and buttons are a choking hazard for babies and children under 3. For a toy meant for that age group, embroider the eyes and nose with yarn instead.
The six skills every toy relies on
Patterns shorten these to abbreviations, shown here in parentheses.
- Magic ring (MR). An adjustable loop of yarn that the first stitches are worked into, then pulled shut so the center has no hole. It is the fiddliest step for most newcomers, so the magic ring guide takes it slowly, with a simpler alternative.
- Single crochet (sc) in a spiral. Insert the hook under both loops of the next stitch, yarn over and pull up a loop, yarn over again and pull through both loops on the hook. Repeat without ever joining the round.
- Increase (inc). Two single crochet worked into the same stitch. One stitch becomes two, and the piece widens.
- Invisible decrease (dec). Two stitches worked together through their front loops only, so one stitch replaces two without leaving a bump. The invisible decrease tutorial shows where the hook goes.
- Stuffing. Fiberfill goes in as small tufts, a little at a time, until the piece is firm and holds its shape when squeezed.
- Sewing on. Pieces are pinned in place first, checked from every side, then stitched down with the yarn tail left at the end of the piece.
Nothing else is needed for a first toy. Color changes, shaping tricks and embroidery come later and build on these six.
How a pattern tells you what to do
An amigurumi pattern is a list of rounds (Rnd), one line each. A typical line reads Rnd 3: (sc 1, inc) x 6 (18). It means: in the third round, work one single crochet, then one increase, and repeat that pair six times; at the end the round should hold 18 stitches (sts). The number in parentheses is a built-in check, and counting against it after every round catches mistakes while they are still one round deep.
The full notation, including the trap of US versus UK stitch names, is covered in how to read amigurumi patterns.
Habits worth building from the first round
- Move the marker every round. A spiral has no visible seam, so the marker is the only thing that shows where a round begins. Clip it into the first stitch as soon as that stitch is made.
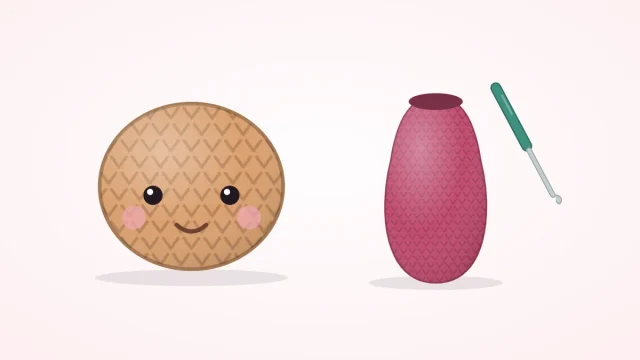
- Keep the right side out. The outside of the fabric shows neat V shapes; the inside shows horizontal bars. Small pieces tend to curl the wrong way in the first few rounds. Push the bowl inside out so the Vs face outward and the hook works along the near edge.
- Count out loud or on paper. Tick off each round as it is finished.
- Aim for firm, even tension. Stitches should be snug enough that no gaps show when the fabric is stretched slightly, yet loose enough for the hook to enter without a fight.
A sensible order of first projects
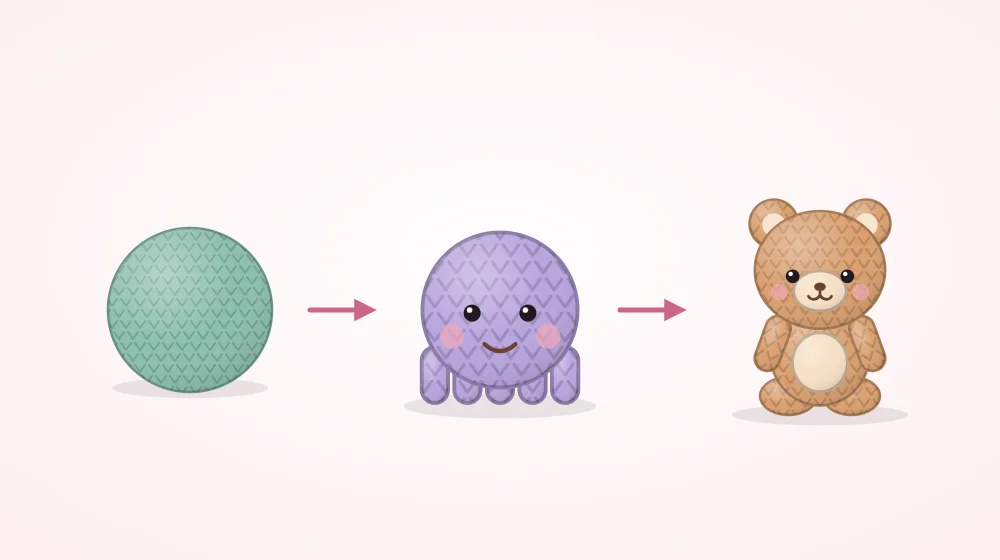
Each of these adds one new demand to the one before it.
- A plain ball. One piece, no sewing, and it uses the magic ring, the increase, the decrease and stuffing in a single sitting. Start with the amigurumi ball pattern.
- A ball creature. The same ball with eyes and a row of short legs or tentacles, like a simple octopus. It introduces placing a face and attaching small parts, but forgives uneven spacing.
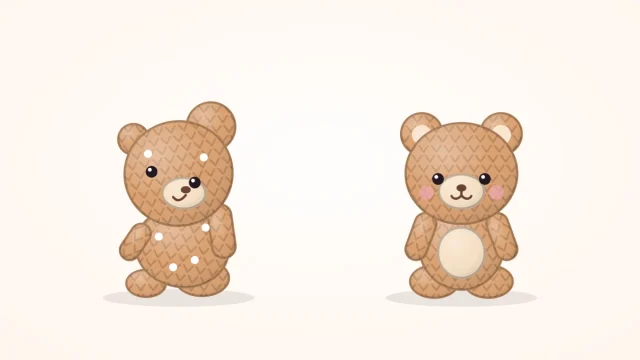
- A small bear. Head, body, ears and limbs are made separately and sewn on, so symmetry starts to matter. The beginner bear pattern is written for this stage.
What usually goes wrong at the start
Early pieces rarely look like the drawing, and the causes are predictable.
- The stitch count is off. Usually a missed marker or a skipped stitch right after an increase. Pull back to the marker and rework that round rather than fudging the next one.
- White stuffing shows through. The stitches are too loose for the yarn. Drop down a hook size or tighten the tension.
- The hand cramps and the hook will not go in. The opposite problem: tension is too tight. Loosen the grip on the working yarn slightly.
- The piece looks lumpy. Stuffing was added in a few large wads. Take it out and refill with small tufts.
Tip
Crochet unravels cleanly, so nothing is wasted by practicing. Work the first three rounds of a ball, pull the yarn to undo them, and repeat until the magic ring and the first increases feel routine.
Frequently asked questions
Do I need to know regular crochet before starting amigurumi?
No. Amigurumi uses the single crochet almost exclusively, plus an increase and a decrease, so it can be the first crochet you learn. Experience with flat projects helps with holding the hook and yarn, but the skills for working in a spiral are learned on the toy itself.
Is amigurumi harder than crocheting a scarf or blanket?
It is different more than harder. The stitches are simpler, but they are smaller and tighter, and you have to count every round. Most of the early difficulty comes from the magic ring and from keeping track of where a round starts, both of which improve quickly with repetition.
Can left-handed people follow the same amigurumi patterns?
Yes. The written rounds are the same for both hands. A left-handed crocheter holds the hook in the left hand and works around the piece in the opposite direction, which mirrors the result but does not change the stitch counts.