Amigurumi Arms and Legs: Tube Sizes, Stuffing and Joined Legs
How to size, stuff and close crocheted limbs, an arm pattern and a leg pattern, and how to join two legs into a body with a short chain.
Tutorial at a glance
Materials
- Worsted weight (#4 medium) yarn
- 3.5 mm (US E-4) crochet hook
- Two locking stitch markers
- Polyester fiberfill
- Blunt yarn (tapestry) needle
- Chopstick or similar tool for stuffing narrow tubes
- Pins
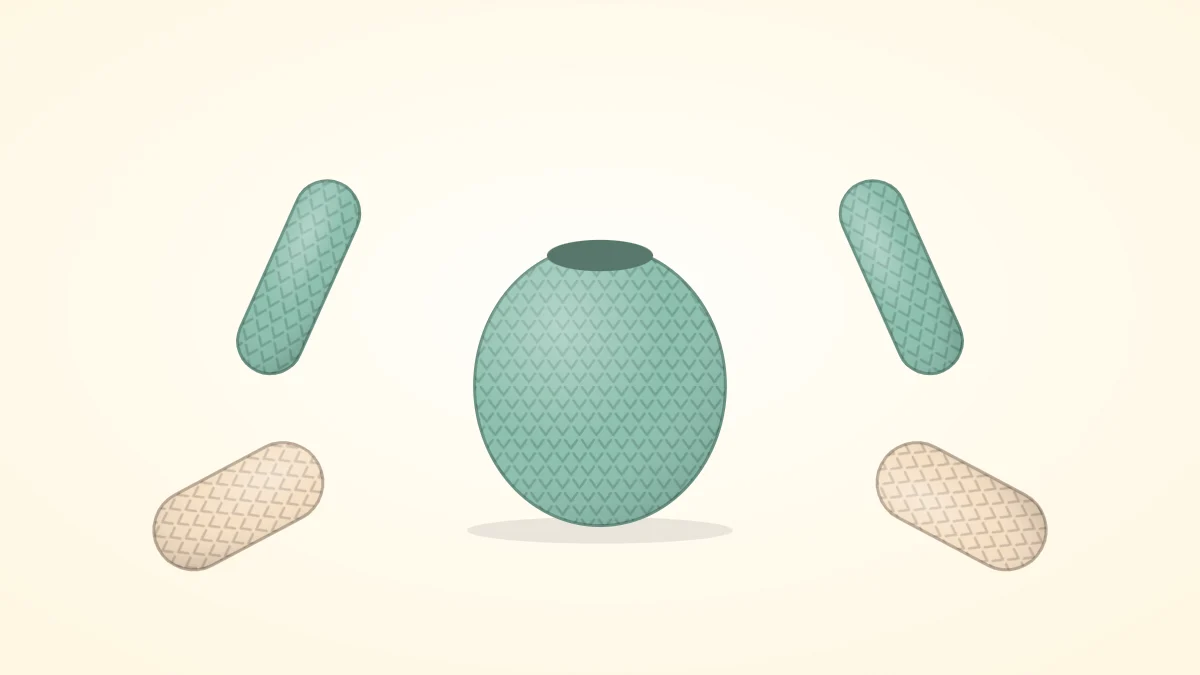
Limbs are the smallest pieces on most toys and the ones most likely to come out mismatched: one arm a round longer, one leg fatter because it took more stuffing. Amigurumi arms and legs are only narrow tubes with one rounded end, so the skill lies less in the stitches than in a few decisions made before starting, and in working both of a pair the same way.
How many stitches around
A limb is a tube: a tiny circle of increases, then even rounds. The stitch count of those even rounds sets the thickness.
| Stitches around | Result in worsted weight yarn | Suits |
|---|---|---|
| 6 | Very thin, hard to stuff | Tails, antennae, mini toys |
| 8-9 | Slim | Arms on a small or medium toy |
| 10-12 | Sturdy | Legs, arms on a chunky toy |
| 15-18 | Thick | Legs a large toy stands on |
As a guide, an arm reads as natural at roughly a third of the body’s widest stitch count, with legs a little thicker than arms. For a 30-stitch body, that means arms of about 9 stitches and legs of 12.
Stuffed, lightly stuffed or unstuffed
- Firmly stuffed limbs are stiff and hold a pose. Use this for legs that support a standing or seated toy.
- Lightly stuffed limbs have filling in the hand or foot and little or none in the upper part. They hang and swing naturally, which suits arms.
- Unstuffed limbs lie flat. This works for very thin tubes and for floppy, rag-doll styles.
Narrow tubes are filled in tiny tufts pushed down with the blunt end of the hook or a chopstick; how to stuff amigurumi covers the method. Whatever you choose, leave the last two rounds at the top empty so the opening can be flattened.
Materials and abbreviations
- Worsted weight (#4 medium) cotton or acrylic yarn
- 3.5 mm (US E-4) crochet hook
- Two locking stitch markers
- Polyester fiberfill and a blunt yarn needle
MR magic ring, ch chain, sc single crochet, inc increase (2 sc in the same stitch), Rnd round, FO fasten off. Work in a continuous spiral with a marker in the first stitch of each round.
Arm pattern
A slim arm with a slightly rounded hand, sized for a body of 24 to 30 stitches.
Arm (make 2)
- Rnd 1: 6 sc in MR (6)
- Rnd 2: (sc 1, inc) x 3 (9)
- Rnds 3-10: sc 9 (9)
- Stuff the lower third only. Press the top edge flat and work 4 sc across, through both layers, to close it. FO, leaving a tail of about 8 in (20 cm) for sewing.
Flattening and closing the top
A flattened top gives the arm a hinge, so it lies against the body instead of sticking straight out. Pinch the opening so the front and back edges line up, insert the hook through one stitch of each layer, and work a single crochet through both. With 9 stitches, four pairs close the edge and the odd stitch tucks into the fold.
Check which way the flat edge faces before closing the second arm. Both should be flattened in the same direction, or one hand will sit turned compared with the other. The closed edge is then sewn to the side of the body, as explained in how to sew amigurumi pieces together.
Leg pattern
The same leg works for both methods below: sewn on, or joined directly into the body.
Leg (make 2)
- Rnd 1: 6 sc in MR (6)
- Rnd 2: inc x 6 (12)
- Rnds 3-8: sc 12 (12)
- First leg: FO with a tail of about 6 in (15 cm). Second leg: do not FO if joining the legs; keep the loop on the hook.
For sewn-on legs, fasten off both, stuff them, flatten the tops as for the arms and sew them under the front of the body so the toy sits.
Joining two legs into the body with a chain
Here the legs become the bottom of the body, with no seam. A short chain bridges the gap between them, and the first body round travels around both legs and along both sides of that chain.
Joining round (make 1)
- Stuff both legs firmly. With the loop of the second leg still on the hook, ch 3.
- Rnd 1: sc 12 around the first leg, starting in the stitch after its last one; sc 3 along the chain; sc 12 around the second leg; sc 3 along the other side of the chain (30)
- Rnds 2-4: sc 30 (30)
- Use the tail of the first leg to stitch closed any gap between the legs, working from the inside.
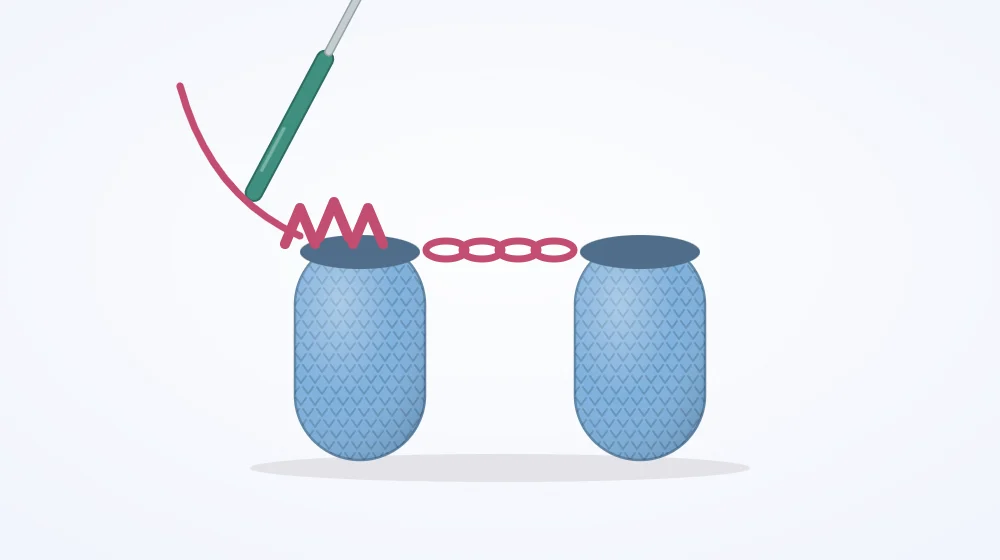
The count for the first round is always both legs plus twice the chain: 12 + 12 + 3 + 3 = 30. From here the piece continues as an ordinary body. The body in amigurumi heads and bodies also has 30 stitches at its widest, so its upper rounds can follow directly, and the beginner doll pattern builds a whole figure this way.
Watch out
Place a marker in the first stitch worked on the first leg. With two tubes and a chain in the way, the start of the round is easy to lose, and the stitches along the chain are easy to skip.
Making pairs match
- Work the pair back to back. Tension shifts from day to day, so two pieces made in one sitting tend to match more closely.
- Count rounds, do not measure by eye. Tick off each round on paper for both pieces.
- Portion the stuffing. Pull two equal tufts of fiberfill before filling either limb.
- Compare before fastening off. Lay the second piece beside the first. If it is longer or shorter with the same round count, the tension changed; rework it instead of adding or removing a round.
- Pin both before sewing either. Check from the front, the sides and above that the limbs sit on the same round and the same distance from the center.
Tip
For feet that point forward on joined legs, make each leg start wider: add one more increase round before the even rounds, then decrease a few stitches at the front over the next rounds. Try this once the plain tube feels easy.
Frequently asked questions
Why do my amigurumi arms stick straight out?
They are stuffed all the way to the top or sewn on as an open round tube. Leave the top rounds empty, flatten the opening and close it before sewing. The flat edge acts as a hinge and lets the arm hang down along the body.
Is it easier to sew legs on or to join them?
Sewing is more familiar, but it leaves two more seams and the legs can end up uneven. Joining takes one careful round and then needs no sewing at all. For a seated animal, sewn legs are common; for a standing doll, joined legs are the usual choice.
Can the hands or feet be a different color?
Yes. Start the limb in the hand or foot color and switch to the sleeve or leg color after the first few rounds. The limb's shape and stitch counts stay the same; only the yarn changes.