Amigurumi Face Embroidery: Eyes, Noses, Mouths and Cheeks
Where to place eyes so a toy reads as cute, how safety eyes compare with embroidered ones, and how to stitch noses, mouths, sleepy eyes, eyebrows and cheeks with no visible ends.
Tutorial at a glance
Materials
- A stuffed amigurumi head
- Black or dark brown yarn or embroidery thread
- Pink yarn for cheeks
- Blunt yarn (tapestry) needle
- Round-headed pins for planning
- 6-8 mm safety eyes (optional, not for children under 3)
- Small sharp scissors
Move a pair of eyes two rounds down a crocheted head and the character seems to lose several years of age. Nothing else about a toy changes its personality as quickly as the face, which is why amigurumi face embroidery deserves a plan, a few pins and some patience rather than a rushed last step. The stitches themselves are simple; the placement is where faces succeed or fail.
Plan the face with pins before stitching
Stuff the head first, at least loosely. An empty head is a different shape, and features placed on it shift once the filling goes in. Then mark the face without committing to anything:
- Push two dark round-headed pins in where the eyes might go.
- Lay a short strand of yarn across the head for the mouth and hold it with a pin at each end.
- Mark the nose with a pin in a different color.
Look from the front at arm’s length, then move the pins one stitch or one round at a time. Count the stitches between the eyes and the rounds down from the top of the head, so the final position can be found again after the pins come out.
Where the eyes sit
Eye position does most of the work. Two rules of thumb cover the majority of faces:
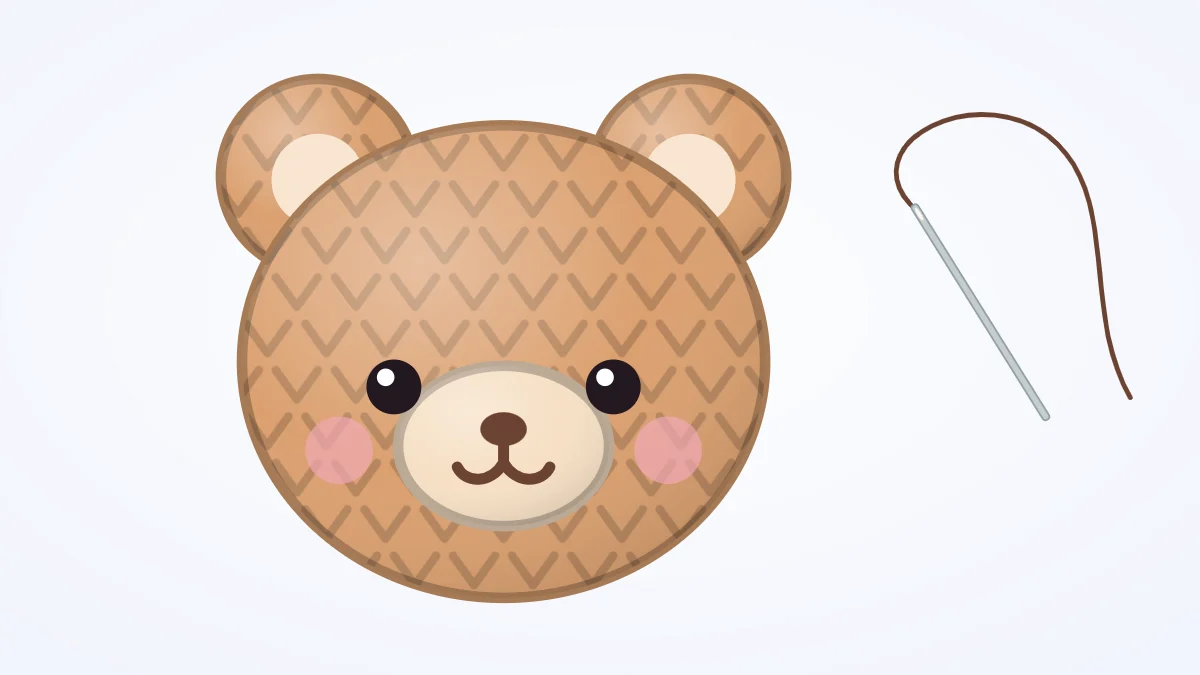
- Low and wide reads as cute. Eyes on or just below the horizontal middle of the head, set well apart, leave a large forehead. That is the proportion of a baby animal, and it makes a toy look young and gentle.
- High and close reads as older. Eyes above the middle and near each other look alert and grown up, and can look stern.
Place the nose between the eyes or slightly below their line, and keep the mouth close under it. Features gathered into a small area low on the face look sweeter than features spread across the whole head. For how head size and body size change the character, see amigurumi heads and bodies.
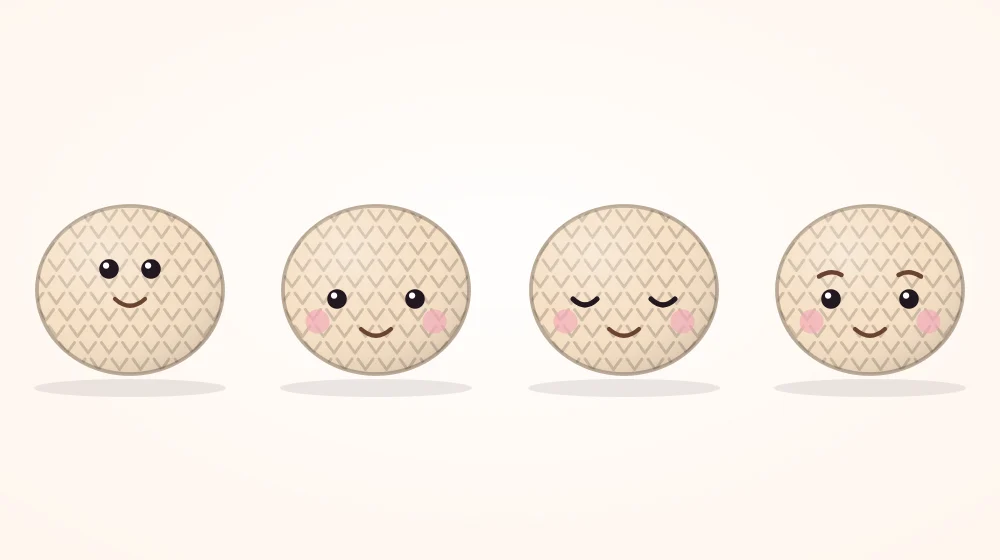
Safety eyes vs embroidered eyes
Safety eyes are plastic domes on a ridged post, locked from inside the head with a washer. Embroidered eyes are stitched with yarn or embroidery thread. House patterns use 6-8 mm safety eyes on a worsted weight head, but either choice works on any design.
| Safety eyes | Embroidered eyes | |
|---|---|---|
| Look | Glossy and uniform | Soft, matte, any shape |
| When they go on | Before the head is closed | Any time, even on a finished toy |
| Can they be moved? | Not once the washer is pushed on | Yes, snip the stitches and redo them |
| Suitable for under 3 | No | Yes |
Watch out
Safety eyes, beads and buttons are a choking hazard for babies and children under 3, whatever the name suggests. For that age group, embroider every feature.
Embroidering eyes
For amigurumi face embroidery, use black or dark brown yarn for bold eyes, or embroidery thread for finer lines. A blunt yarn needle slips between crochet stitches without splitting them; embroidery thread may need a sharper needle with a smaller eye.
Round eyes
Bring the needle up at the bottom of the eye and down one round higher, making a short vertical stitch. Repeat three or four times through the same two holes, letting the strands lie side by side. The stitches pile into a small oval. For a wider eye, add a second column one stitch over.
Sleepy eyes
Make one horizontal stitch about three crochet stitches wide and leave it slightly slack. Bring the needle up just below the middle of that stitch, loop over it, and go back down through the same hole. This small tacking stitch pulls the line into a downward curve. Tack it from above instead and the curve turns upward into a smiling, squeezed-shut eye.
Noses and mouths
A triangular nose is a short stack of horizontal stitches: the first about two crochet stitches wide, each one below it slightly shorter, ending in a point. Keep the strands flat and parallel, and do not pull so hard that the fabric dimples.
For the mouth, bring the needle out at the bottom point of the nose and make one short vertical stitch downward. From its lower end, make a short diagonal stitch to each side to form an upside-down Y. A simple smile uses the sleepy-eye method: one slack horizontal stitch, tacked down in the middle.
Tip
Crochet stitches sit in a slightly offset grid, so a line that follows one round can still look tilted. Trust the pins and your eye over the stitch rows, and check the face in a mirror: a reversed view makes lopsided features obvious.
Eyebrows and cheeks
An eyebrow is a single straight stitch, one or two rounds above the eye and about two stitches long. Its angle sets the mood:
- Level: calm.
- Inner ends raised: worried or sad.
- Inner ends lowered: cross or determined.
- Both raised high above the eyes: surprised.
For cheeks, work two or three short horizontal stitches in pink yarn just below and to the outside of each eye. A larger cheek can be a tiny crocheted circle, 6 single crochet (sc) worked into a magic ring, sewn on flat.
Hiding thread ends
On a head that is still open, start and finish inside and tie the two ends together against the wrong side of the fabric. On a closed head, there is no inside to reach, so use this method:
- Insert the needle a short distance away from the face, at a spot between two stitches, and bring it out where the first embroidery stitch begins. Leave a tail hanging from the entry point.
- Work the feature.
- After the last stitch, send the needle back out through the same gap the tail is hanging from.
- Tie the two ends together in a double knot right against the fabric.
- Thread both ends on the needle, go in through that same gap, and come out on the far side of the head. Tug gently so the knot pops inside, then snip the ends close to the surface.
Where possible, choose an entry point that an ear or the neck seam will later cover; see how to sew amigurumi pieces together for the order of assembly. On very small toys, French knots replace most of these stitches, as explained in the mini amigurumi guide.
Frequently asked questions
Should I embroider the face before or after stuffing the head?
After stuffing, or at least with the head loosely filled. Stuffing stretches the fabric and changes the spacing between stitches, so a face embroidered on an empty head can end up distorted. Safety eyes are the exception: they must be locked in before the head is closed.
What can I use instead of black yarn for small details?
Embroidery thread gives finer lines than yarn and can be divided into fewer strands for very small features. Another option is to separate the plies of the yarn and stitch with one or two of them.
How do I fix an embroidered face I do not like?
Snip the embroidery stitches carefully with small scissors, taking care not to cut the crochet fabric, and pull the pieces out with the needle tip. Rub the area gently to close any enlarged gaps, then re-pin the face and stitch again.