Finishing Amigurumi for Gifts: A Clean, Safe Final Checklist
The final steps that make a crocheted toy ready to give: closing the last round neatly, burying ends, tidying fuzz, tug-testing seams, age-appropriate details and care notes.
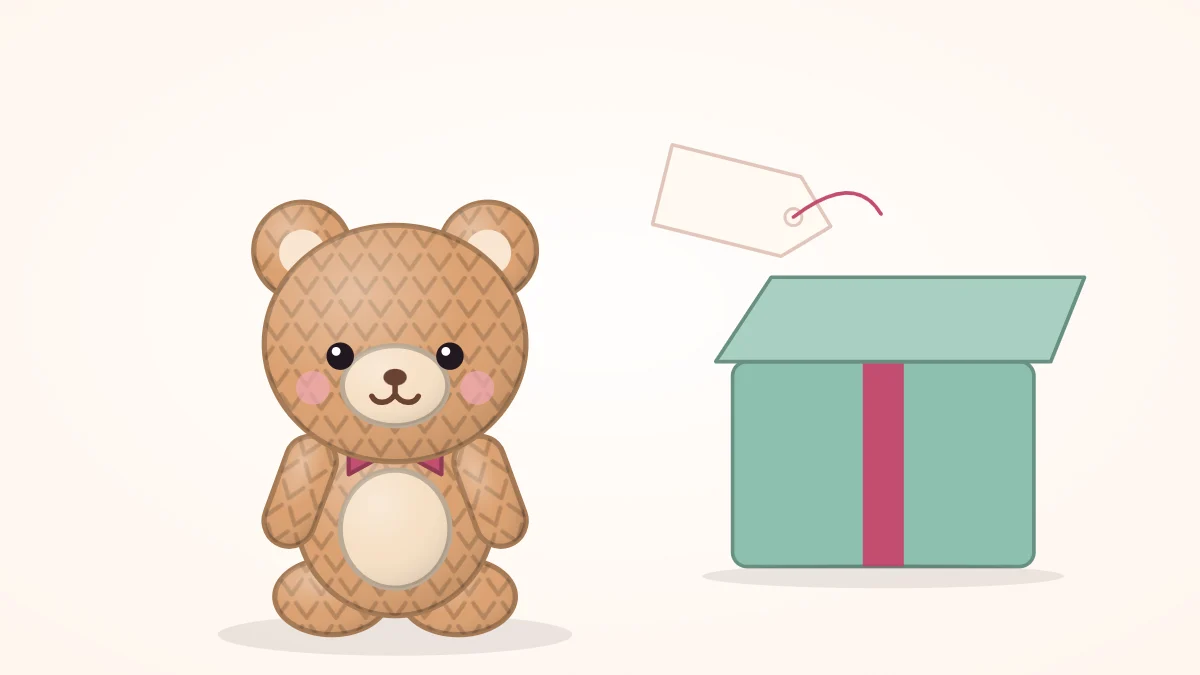
Tutorial at a glance
Materials
- An assembled amigurumi toy
- Blunt yarn (tapestry) needle
- Small sharp scissors
- Yarn or embroidery thread for embroidered features
- Tape or a lint roller
- Gift tag or small card for care notes
- Small box and tissue paper
The last ten percent of the work decides whether a handmade toy looks finished or merely stopped. A hole at the bottom of the body, a yarn end poking out behind an ear, an arm that shifts when pulled: none of these are crochet errors, and all of them are noticed first by whoever unwraps the gift. Finishing amigurumi properly is a short checklist, worked through in the same order every time.
Close the last round through the front loops
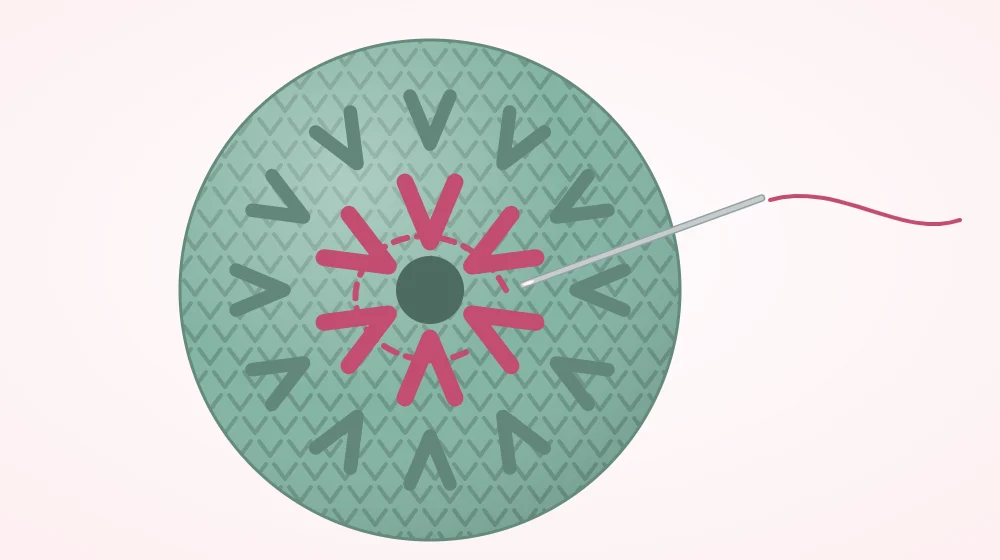
Most closed pieces end with a round of six stitches around a small hole. Pulling the yarn tail straight through leaves a pucker. Closing through the front loops draws the stitches inward and leaves a flat, tidy finish.
- Fasten off (FO) after the last stitch, leaving a tail of about 6 in (15 cm).
- Thread the tail onto a blunt yarn needle.
- Pass the needle under the front loop only of the next stitch, going from the center of the hole toward the outside.
- Repeat in each of the remaining stitches, always in the same direction, without pulling tight yet.
- When all six front loops are on the yarn, pull the tail gently. The hole closes like a drawstring.
- Push the needle down through the center of the closed hole and out through the far side of the piece.
If a gap remains, the stuffing is probably pushing through. Poke it back with the needle tip and pull the tail again.
Weave in and bury the ends
A stuffed toy hides ends more easily than flat crochet, because the filling grips the yarn. Every end still needs anchoring before it disappears, or it can work loose and let a seam open.
- Anchor first. Run the needle under three or four stitches on the surface, following the direction of the round, then back under two of them. This locks the yarn in the fabric.
- Then bury. Insert the needle where the yarn last came out, travel through the stuffing, and come out a few inches away.
- Cut under tension. Pull the yarn slightly taut and snip close to the surface. The cut end draws back inside.
Color-change tails inside a piece should be knotted together in pairs before the piece is closed. For slippery yarn, pass through the stuffing twice in different directions before cutting.
Tidy the surface
Handling during assembly raises fuzz, and wisps of fiberfill often work through the fabric. Deal with them differently:
- Loose yarn fuzz: trim it level with small sharp scissors held flat against the surface. Do not pull, which draws out more fiber.
- Stuffing poking through: push it back between the stitches with the needle tip. Pulling it out drags more stuffing behind it.
- Lint and stray hairs: lift them with a piece of tape or a lint roller.
- Dented shapes: roll the piece between your palms and nudge the stuffing from outside with the needle to even it out.
If white shows between stitches across a whole piece, the fabric is too open for the yarn, which is one of the common amigurumi mistakes worth solving before the next toy rather than hiding on this one.
Check seams and attachments by tugging
Before a toy leaves your hands, test it the way it will be treated.
- Hold the body and pull each arm, leg, ear and tail firmly, straight out and then sideways.
- Hold the body and gently twist the head. The neck seam should not gap.
- Try to get a fingernail under the edge of any sewn-on patch or muzzle.
- Press all over the toy with your fingertips, feeling for anything hard that should not be there, such as a forgotten pin.
Anything that shifts, gaps or shows its sewing stitches gets a second round of stitching. The methods are in how to sew amigurumi pieces together.
Match the details to the recipient’s age
Finishing amigurumi for a baby is not the same job as finishing one for an adult’s shelf. Decide who it is for, ideally before adding the face.
| Recipient | Eyes and face | Extras |
|---|---|---|
| Baby or child under 3 | Embroidered only | No ribbons, buttons, beads, bells or pellets; every piece sewn on firmly |
| Child aged 3 and up | Embroidered, or safety eyes with washers fully locked | Accessories stitched down, nothing glued |
| Adult or display piece | Any | Ribbons, bows and removable accessories are fine |
Watch out
Safety eyes, beads, buttons and pellets are a choking hazard for babies and children under 3. Embroidered features are the safe choice; see amigurumi face embroidery for how to stitch them. A handmade toy carries no safety certification, so tell the recipient exactly what is on it and in it.
A ribbon bow suits a toy for an older child or adult. For a baby, leave it off, or use it only on the wrapping.
Care notes to include
The person receiving the toy has no way of knowing what it is made of. A small card answers the questions that come up later:
- Fiber: cotton, acrylic or a blend, copied from the yarn label.
- Filling: polyester fiberfill, plus anything else inside.
- Washing: follow the instructions printed on the yarn label. Where there are none, the cautious default is to wash by hand in cool water with mild soap, press the water out in a towel without wringing, reshape, and dry flat in the air.
- Small parts: state plainly if the toy has safety eyes or other hard parts and is not for children under 3.
- Checks: suggest looking over seams and eyes from time to time and retiring the toy if anything comes loose.
Washability starts with the yarn itself, a point covered in best yarn for amigurumi.
Simple presentation
A soft toy needs little dressing up. A few low-effort options:
- A small box lined with tissue paper, with the toy sitting upright so the face is the first thing seen.
- A clear bag tied with yarn left over from the toy, so the colors match.
- A plain tag with the toy’s name and the care notes on the back.
Avoid squeezing a toy into a box that is too small. Stuffing takes on the shape it is pressed into, and a flattened ear or snout can stay that way until it is reshaped by hand.
Frequently asked questions
Should I wash an amigurumi before giving it as a gift?
It is not required if the toy was made with clean hands in a clean space. If it picked up dust or pet hair, lift that off with tape first. If you do wash it, follow the yarn label and let it dry completely before wrapping so no moisture stays in the stuffing.
My toy already has safety eyes. Can I still give it to a baby?
It is better not to. Safety eyes are a choking hazard for children under 3 and cannot be removed cleanly once the toy is closed. Keep that toy for an older child and make a version with embroidered eyes for the baby.
How do I stop yarn ends from popping back out after a while?
Anchor each end under several stitches of the fabric before sending it into the stuffing, and change direction at least once inside the piece. An end that only passes straight through the filling has nothing holding it and can work loose with handling.