Invisible Decrease Amigurumi Tutorial: The Front-Loop Method
Why a standard decrease leaves a bump and a gap on stuffed pieces, how to work the invisible decrease through the front loops, and a small practice ball that puts both methods side by side.
Tutorial at a glance
Materials
- Smooth light-colored worsted weight yarn
- 3.5 mm (US E-4) crochet hook
- Locking stitch marker
- Polyester fiberfill
- Blunt yarn (tapestry) needle
- Scissors
Look closely at the lower half of a crocheted ball made with ordinary decreases and you will usually find a ring of small knots, each with a pinhole beside it where the filling can show. The invisible decrease amigurumi makers rely on removes both. It joins two stitches through their front loops only, so the decrease sits flat and looks very much like a plain single crochet from the outside. It uses the same hook, the same yarn and the same number of movements as the standard version.
Abbreviations used here
- MR: magic ring
- sc: single crochet
- inc: increase (2 sc in the same stitch)
- dec: invisible decrease (sc 2 stitches together through the front loops)
- st(s): stitch(es)
- Rnd: round
- FO: fasten off
All terms are US terms. Across this site, dec always means the invisible decrease unless a pattern says otherwise.
Why a standard decrease leaves a bump and a gap
The standard decrease is often written sc2tog, short for single crochet two together. You insert the hook under both loops of one stitch and pull up a loop, do the same in the next stitch, and then close all three loops on the hook at once. Two things follow from that.
- The bump. Four strands from the round below (two loops from each stitch) plus three loops on the hook are gathered into a single stitch. That is more yarn than its neighbors hold, so it stands out as a small knot.
- The gap. The two stitches are dragged toward each other at their full height. The fabric on either side is pulled away, and a small hole opens next to the decrease. Firm stuffing widens it.
How to work the invisible decrease
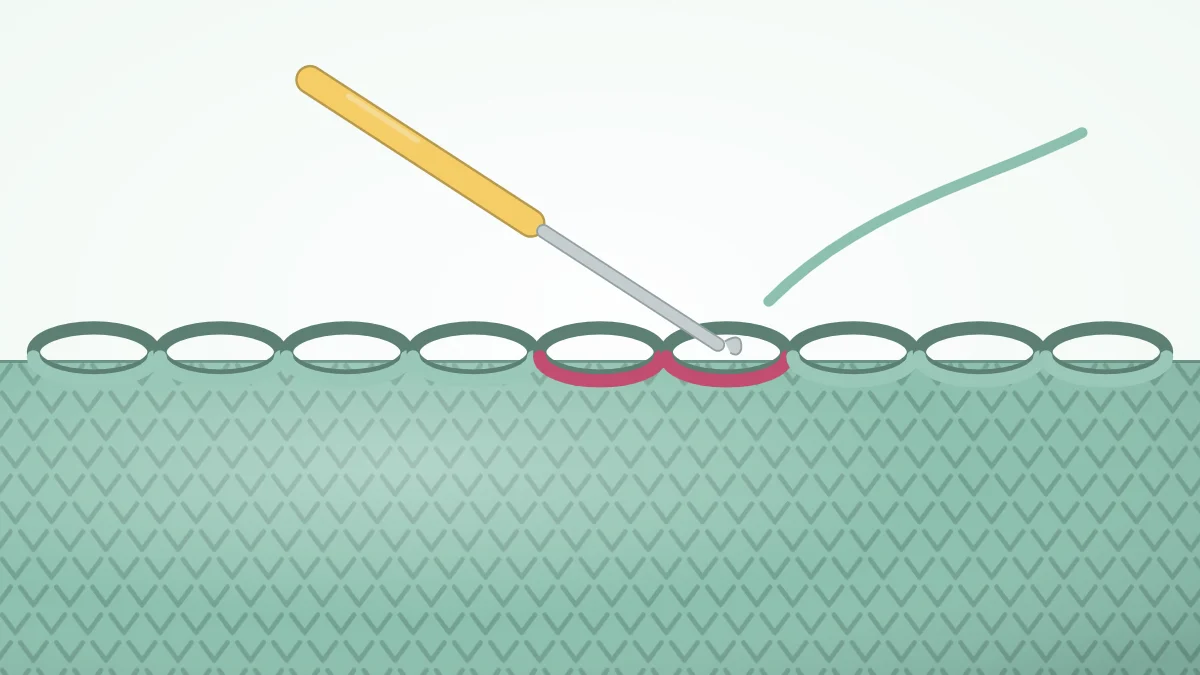
Every stitch has a V on top made of two loops. Holding the work with the right side toward you, the front loop is the strand nearer to you and the back loop is the strand farther away.
- Insert the hook under the front loop only of the next stitch. Do not yarn over.
- Swing the hook straight on into the front loop only of the stitch after it. There are now three loops on the hook: the working loop and two front loops.
- Yarn over (wrap the working yarn over the hook) and pull it through both front loops in one motion. Two loops remain on the hook.
- Yarn over again and pull through both loops. The decrease is complete and counts as one stitch.
Because only two thin strands are gathered instead of four, the stitch carries about the same bulk as an ordinary sc. The two unused back loops fold down behind it on the inside of the piece, where they help fill the space that would otherwise open into a hole.
Common slips and how to correct them
Catching both loops of the second stitch
The second stitch is where the hook tends to dive under the whole V out of habit. If a decrease feels thick or tight as you close it, pull it out and redo it: only the two front loops should lie side by side on the hook.
Twisting the loops
Entering a front loop from behind, or rotating the hook between the two stitches, crosses the strands. The decrease still holds, but it sits at an angle and breaks the row of V shapes. Enter both loops from the front, moving the hook up and away from you in a line.
Yarning over between the two loops
Pulling up a loop in the first stitch before entering the second turns the stitch back into a standard decrease worked in front loops, with an extra strand and extra bulk. Both front loops go onto the hook first, and only then do you yarn over.
Working with the wrong side out
The decrease hides its spare loops on the side facing away from you. If the piece is inside out, those loops end up on the outside as a row of little bars. Check that the V shapes face outward before the decrease rounds begin.
Tip
If the hook will not slide through the two front loops, the round below is too tight. Loosen your grip on the working yarn for the decrease rounds only; the stuffing will take up the slack.
When a regular decrease is still fine
- Flat pieces worked in rows. Both faces of the fabric may be seen, and the unworked back loops would show as bars on one of them.
- Very fuzzy or plush yarn. When single loops cannot be picked out, a decrease through both loops is easier to work, and the pile hides the bump.
- Rounds worked in one loop on purpose. If a pattern asks for a whole round in the back loop only, follow its wording for the decreases in that round.
Practice swatch: both decreases in one small ball
This practice piece is designed to put the two methods on the same surface: one decrease round is worked the standard way and the two after it are invisible. Use worsted weight (#4 medium) yarn in a light color with a 3.5 mm (US E-4) hook. Begin with a magic ring and work in a continuous spiral, moving a stitch marker up to the first stitch of each round. The finished ball should be about 2 in (5 cm) across, depending on yarn and tension.
Practice ball (make 1)
- Rnd 1: 6 sc in MR (6)
- Rnd 2: inc x 6 (12)
- Rnd 3: (sc 1, inc) x 6 (18)
- Rnd 4: (sc 2, inc) x 6 (24)
- Rnds 5-7: sc 24 (24)
- Rnd 8: (sc 2, standard decrease through both loops) x 6 (18)
- Rnd 9: sc 18 (18)
- Rnd 10: (sc 1, dec) x 6 (12)
- Stuff firmly with polyester fiberfill.
- Rnd 11: dec x 6 (6)
- FO, leaving a tail. Thread it onto a blunt yarn needle, pass it through the front loops of the last 6 sts and pull to close.
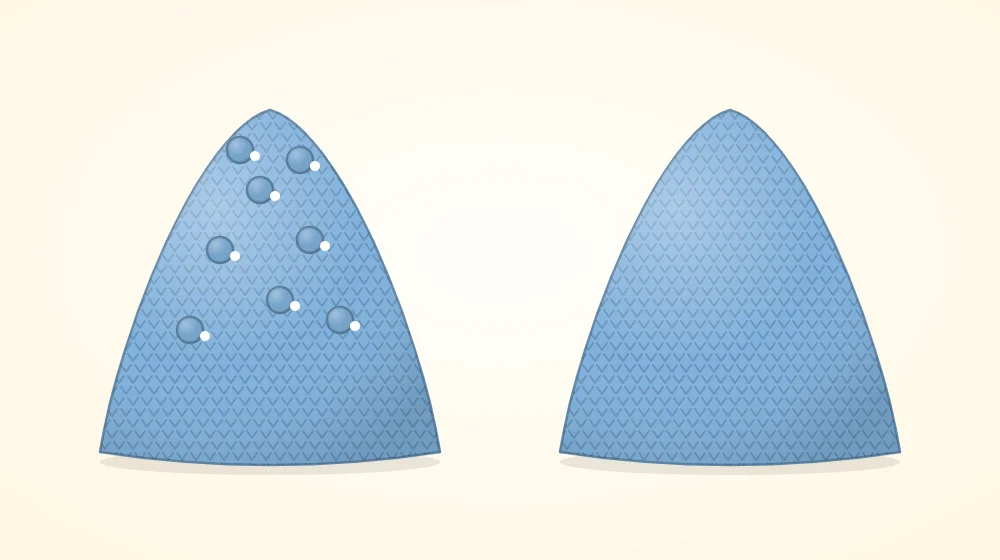
Turn the stuffed ball over and compare Rnd 8 with Rnds 10 and 11. The standard round is expected to show as a ring of raised stitches; the invisible rounds should blend into the surrounding fabric.
Where to use it next
The invisible decrease amigurumi patterns call for belongs anywhere a stuffed piece narrows: the lower half of an amigurumi ball, the neck of a body, the end of a limb. Placing decreases on purpose is covered under amigurumi shaping. If decrease rounds still show, check the list of common amigurumi mistakes; loose tension and overstuffing look similar. Closing the last six stitches is described in the guide to finishing amigurumi.
Frequently asked questions
Does an invisible decrease change the stitch count compared with a regular decrease?
No. Both turn two stitches into one, so the count at the end of the round is the same. You can swap an invisible decrease into any pattern written with standard decreases without changing anything else.
Can I use the invisible decrease if a pattern only says sc2tog or dec?
Yes, for pieces worked in the round with the right side facing out. The pattern's numbers stay the same. Keep the standard decrease for flat pieces worked in rows, where the wrong side may be seen.
Is there an invisible increase too?
An increase is simply two single crochet worked into one stitch, and it already sits fairly flat, so most patterns use it as it is. The decrease is the stitch that benefits from a special method, because it gathers extra yarn into one place.