Amigurumi Ball Pattern: How to Crochet a Basic Sphere
A round-by-round pattern for a 30-stitch crocheted ball, with an explanation of what each section does and a table for making it smaller or bigger.
Tutorial at a glance
Materials
- Worsted weight (#4 medium) yarn in a light, solid color
- 3.5 mm (US E-4) crochet hook
- Locking stitch marker
- Polyester fiberfill
- Blunt yarn (tapestry) needle
- Scissors
A crocheted sphere is three steps stacked on top of each other: a circle that grows, a band that stays the same width, and a circle that shrinks. This amigurumi ball pattern peaks at 30 stitches and is designed to give a ball of about 2 in (5 cm) across, depending on yarn and tension. Once the logic is clear, the same formula makes a ball of any size, and most toy heads are this shape with a face added.
Materials
- Worsted weight (#4 medium) cotton or acrylic yarn in a light, solid color
- 3.5 mm (US E-4) crochet hook
- Locking stitch marker
- Polyester fiberfill
- Blunt yarn (tapestry) needle and scissors
Abbreviations
- MR – magic ring
- sc – single crochet
- inc – increase (2 sc in the same stitch)
- dec – invisible decrease (sc 2 stitches together through the front loops)
- Rnd – round
- FO – fasten off
The ball is worked in a continuous spiral, right side out, without joining rounds. Clip the stitch marker into the first stitch of every round and move it up as you go. If the start is new to you, the magic ring tutorial covers it step by step.
The ball pattern
Ball (make 1)
- Rnd 1: 6 sc in MR (6)
- Rnd 2: inc x 6 (12)
- Rnd 3: (sc 1, inc) x 6 (18)
- Rnd 4: (sc 2, inc) x 6 (24)
- Rnd 5: (sc 3, inc) x 6 (30)
- Rnds 6-10: sc 30 (30)
- Rnd 11: (sc 3, dec) x 6 (24)
- Rnd 12: (sc 2, dec) x 6 (18)
- Stuff the ball firmly through the opening.
- Rnd 13: (sc 1, dec) x 6 (12)
- Add a last tuft of stuffing to fill the top.
- Rnd 14: dec x 6 (6)
- FO, leaving a tail of about 8 in (20 cm) for closing.
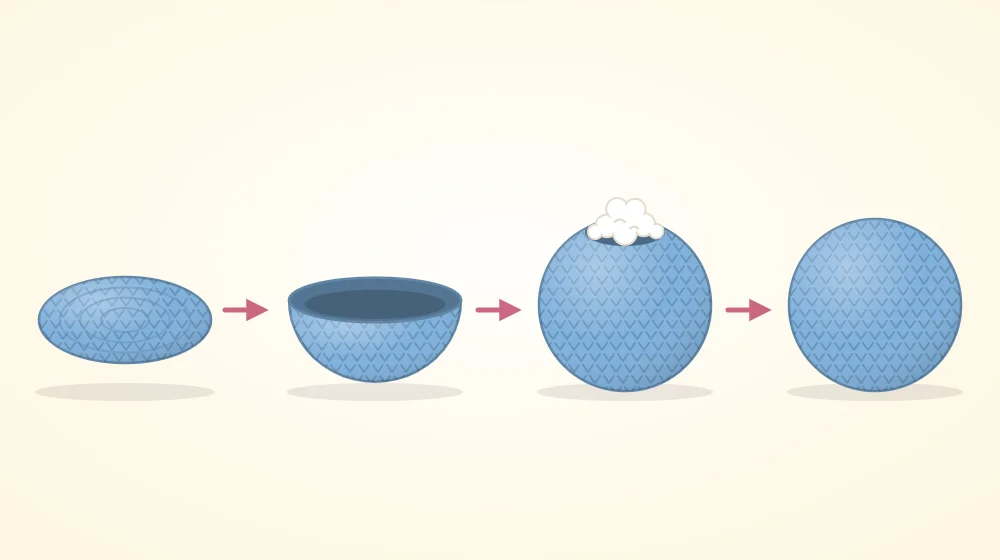
What each section of the pattern does
Rounds 1-5: the growing circle
Every increase round adds exactly six stitches, spaced evenly. That rate keeps a circle of single crochet flat. Adding more than six per round makes the edge ruffle; adding fewer makes it cup early.
Rounds 6-10: the even rounds
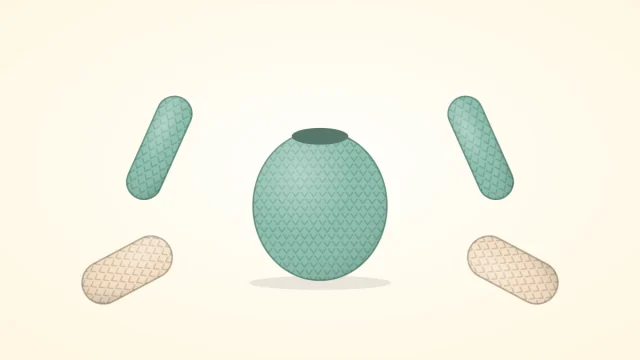
With no increases, the edge can no longer spread outward, so it turns up and forms the wall of the ball. The number of even rounds decides the shape more than anything else in the pattern:
- Too few and the top and bottom meet too soon, giving a flattened cushion shape.
- Too many and the ball stretches into an egg or a short sausage.
A reliable starting point is to work as many even rounds as there were increase rounds. This ball has five increase rounds (Rnds 1-5), so it has five even rounds. If your stitches are short and wide and the ball looks squashed, add one more.
Rounds 11-14: the shrinking circle
The decrease rounds mirror the increase rounds in reverse order, removing six stitches each time. Working each decrease through the front loops only keeps the surface smooth; see the invisible decrease guide if yours leave small bumps.
When to stuff and how to close
Stuff when the opening has 18 stitches, after Rnd 12. It is still wide enough for a fingertip, and the ball is closed enough to hold the filling in place. Push in small tufts, not one large wad, and shape the ball from the outside with your palms as it fills. It should feel firm and spring back when squeezed. Add one more small tuft after Rnd 13, because the top is the part that most often ends up hollow. More detail is in how to stuff amigurumi.
To close, thread the tail onto the yarn needle, pass it through the front loop of each of the six remaining stitches, and pull until the hole disappears. Push the needle down through the center of the ball, bring it out the other side, and trim the tail close so the end slips back inside. The guide to finishing amigurumi shows this closing in more detail.
Watch out
Count every round against the number in parentheses, especially Rnds 3-5. A single missed increase leaves the round one stitch short, and the error carries into every round after it.
How to resize the formula
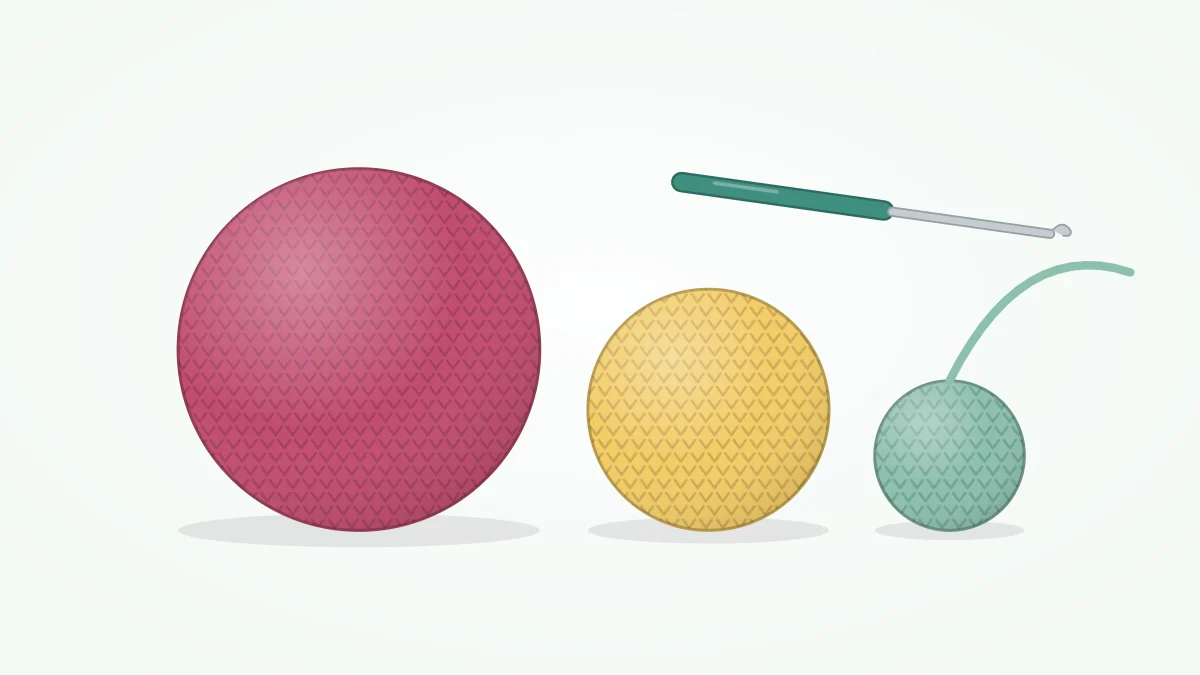
The pattern is a formula, not a fixed recipe. To change the size, change the number of increase rounds, then match the even rounds and reverse the increases.
| Largest round | Increase rounds | Even rounds | Decrease rounds | Total rounds |
|---|---|---|---|---|
| 18 stitches | 3 | 3 | 2 | 8 |
| 24 stitches | 4 | 4 | 3 | 11 |
| 30 stitches (this pattern) | 5 | 5 | 4 | 14 |
| 36 stitches | 6 | 6 | 5 | 17 |
For a 36-stitch ball, add one increase round after Rnd 5 that reads (sc 4, inc) x 6, work six even rounds of 36, and begin the decreases with (sc 4, dec) x 6 before continuing with the decrease rounds given above. For a smaller ball, stop increasing earlier: an 18-stitch ball ends its increases at Rnd 3, has three even rounds, and starts decreasing with (sc 1, dec) x 6.
Size can also be changed without touching the stitch counts. Thicker yarn with a larger hook gives a bigger ball from the same rounds, and finer yarn with a smaller hook gives a smaller one.
Common problems with a first ball
- A point at the top or bottom. The first or last round is standing up as a little cone. Pull the magic ring fully tight, and flatten the closing by taking the tail straight down through the center.
- Six visible corners. Increases stacked directly above each other make a faint hexagon. Firm stuffing rounds most of it out.
- Stuffing visible between stitches. The fabric is too open, or the ball is overstuffed. Tighten the tension or use a smaller hook.
- The ball leans to one side. The stuffing is uneven. Roll it between your palms to redistribute the filling before closing.
Tip
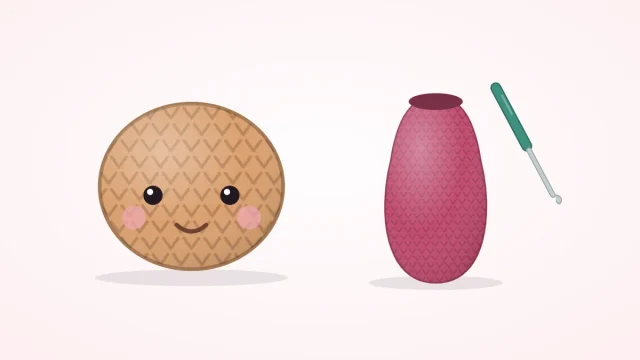
Once a round ball feels routine, the same increase and decrease logic stretches into eggs, cones and tubes. The guide to basic amigurumi shapes shows how.
Frequently asked questions
Why does my crocheted ball look like an egg?
It has more even rounds than its width calls for, or it was stuffed more along its length than around its middle. Remove one or two of the even rounds and try again. Shaping the ball with your palms while stuffing also helps it settle into a rounder form.
Can I start a ball with 8 stitches instead of 6?
Yes, as long as every increase round then adds 8 stitches, not 6. The counts become 8, 16, 24, 32 and so on, and the decreases remove 8 per round. Some crocheters find this lies flatter with their tension, but the two systems should not be mixed in one piece.
Is a crocheted ball safe as a baby toy?
A plain ball with no attached parts avoids the main hazard, which is small pieces such as safety eyes, beads or buttons. Those are a choking hazard for babies and children under 3, so embroider any face with yarn. Check that the closing is secure and that no stuffing can be pulled out between the stitches.