Amigurumi Head and Body: Proportions, Construction and Patterns
How head-to-body proportions change a toy's character, when to work the two as separate pieces or as one, and a head and body pattern with matching neck openings.
Tutorial at a glance
Materials
- Worsted weight (#4 medium) yarn
- 3.5 mm (US E-4) crochet hook
- Locking stitch marker
- Polyester fiberfill
- Blunt yarn (tapestry) needle
- Two 6-8 mm safety eyes or black yarn for embroidered eyes
- Pins for positioning the head
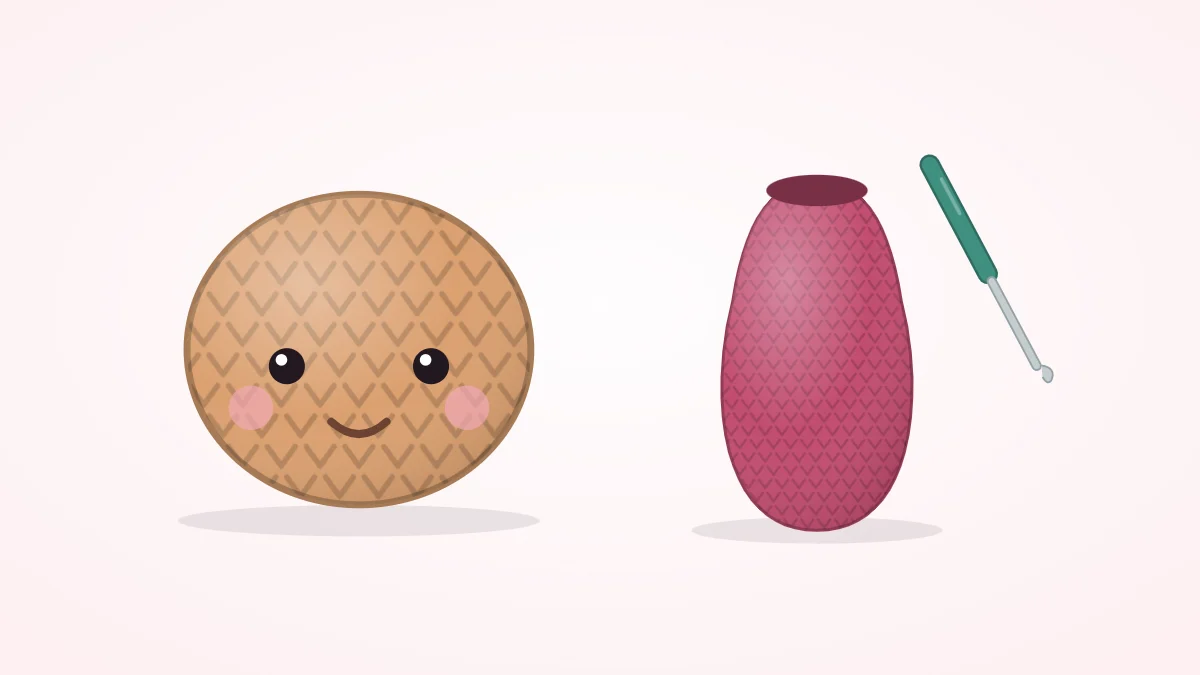
Before a toy has a face, ears or limbs, its character is already half decided by one thing: how big the head is next to the body. An amigurumi head and body are both simple shapes, usually a ball and a pear, but the ratio between them and the way they are joined change the result more than any detail added later.
Head-to-body ratios and what they do
Compare the two pieces by height, measured in rounds, and by width, measured in stitches at the widest round.
| Head compared with body | Effect | Typical use |
|---|---|---|
| Head clearly larger | Baby-like, cute, “chibi” look | Small animals, pocket-size toys, keychains |
| Head and body about equal | Balanced, classic toy look | Teddy bears, bunnies, most seated animals |
| Head smaller, body taller | Older, more realistic look | Dolls, standing figures, long-bodied animals |
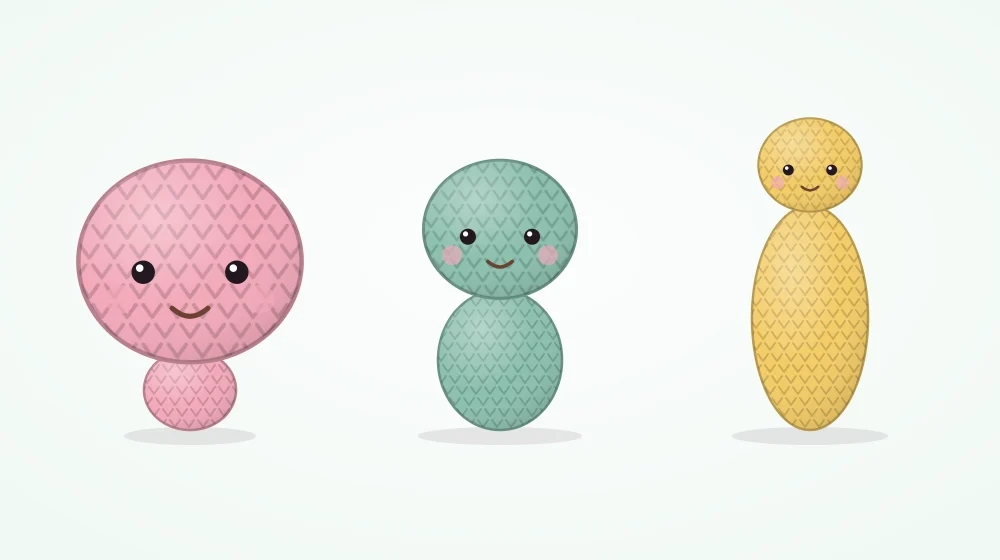
A large head also changes the practical side of a toy. It is heavier, so it needs a wider neck and a body with a broad, firmly stuffed base to keep the figure from tipping forward.
Separate pieces or one continuous piece
Separate head and body
Each piece is worked on its own, stuffed and then sewn together. This is the easier route for a first toy: each part is a short, simple pattern, the face can be finished while the head is still easy to hold, and the head can be tilted or turned slightly before sewing. The cost is one more seam.
One continuous piece
The body is worked from the bottom up and decreased to a neck, then the next rounds increase again to form the head. There is no seam to sew and nothing can be attached crooked. The drawbacks are that the neck is as narrow as its smallest round, the body must be stuffed before the head closes over it, and safety eyes have to be placed while the piece is still on the hook. The beginner doll pattern uses this method.
Materials and abbreviations
- Worsted weight (#4 medium) cotton or acrylic yarn
- 3.5 mm (US E-4) crochet hook
- Locking stitch marker, polyester fiberfill, blunt yarn needle
- Two 6-8 mm safety eyes, or black yarn for embroidered eyes
MR magic ring, sc single crochet, inc increase (2 sc in the same stitch), dec invisible decrease (sc 2 stitches together through the front loops), Rnd round, FO fasten off. Both pieces are worked in a continuous spiral with a stitch marker in the first stitch of each round.
A head and body designed to fit each other
Both pieces finish with an open edge of 18 stitches, so the two openings match stitch for stitch. The head is a little wider than the body (36 stitches against 30) and the same number of rounds tall, which lands between the first two rows of the table above.
Head (make 1)
Worked from the top of the head down to the neck.
- Rnd 1: 6 sc in MR (6)
- Rnd 2: inc x 6 (12)
- Rnd 3: (sc 1, inc) x 6 (18)
- Rnd 4: (sc 2, inc) x 6 (24)
- Rnd 5: (sc 3, inc) x 6 (30)
- Rnd 6: (sc 4, inc) x 6 (36)
- Rnds 7-12: sc 36 (36)
- Rnd 13: (sc 4, dec) x 6 (30)
- Rnd 14: (sc 3, dec) x 6 (24)
- If using safety eyes, place them between Rnds 10 and 11, about 6 stitches apart, and press the washers on from the inside.
- Rnd 15: (sc 2, dec) x 6 (18)
- FO with a short tail. Stuff the head firmly.
Body (make 1)
Worked from the base up to the neck, with the widest part low down to give a pear shape.
- Rnd 1: 6 sc in MR (6)
- Rnd 2: inc x 6 (12)
- Rnd 3: (sc 1, inc) x 6 (18)
- Rnd 4: (sc 2, inc) x 6 (24)
- Rnd 5: (sc 3, inc) x 6 (30)
- Rnds 6-9: sc 30 (30)
- Rnd 10: (sc 3, dec) x 6 (24)
- Rnds 11-12: sc 24 (24)
- Rnd 13: (sc 2, dec) x 6 (18)
- Rnds 14-15: sc 18 (18)
- FO, leaving a tail of about 16 in (40 cm) for sewing. Stuff firmly, right up to the edge.
Watch out
Safety eyes are a choking hazard for babies and children under 3. For a toy meant for that age group, leave them out and embroider the eyes with yarn once the head is stuffed.
Changing the proportions
The two patterns are easy to push toward either end of the table without rewriting them:
- Bigger head, cuter toy: add two even rounds of sc 36 to the head, or remove two of the even rounds from the body.
- Taller body: add even rounds of sc 30 after Rnd 9 or of sc 24 after Rnd 12. Extra rounds at 24 lengthen the chest; extra rounds at 30 lengthen the belly.
- Slimmer body: stop the increases at Rnd 4, work the even rounds on 24 stitches, and skip Rnd 10.
Keep the final round of both pieces at 18 stitches so the openings still match.
Keeping the neck from wobbling
A head that nods or flops almost always comes from one of three causes, and each has a direct fix.
- The neck is too narrow for the head. A head of 36 stitches on a 6- or 12-stitch neck pivots on a point. An 18-stitch opening spreads the load over a wider ring.
- The neck is hollow. Fiberfill settles away from the join. Stuff both pieces until filling stands slightly above each open edge, and push more in just before the last few sewing stitches close the gap. See how to stuff amigurumi for filling a join.
- The seam is loose. Pin the head in place, sew through one stitch of the head and one of the body all the way around, then go around a second time, pulling each stitch snug.
The stitches themselves are explained in how to sew amigurumi pieces together.
What comes next
With the head and body joined, the figure needs a face and limbs. Eye height changes the expression as much as proportion does, which is covered in amigurumi face embroidery. Matching tubes for this body are in amigurumi arms and legs.
Frequently asked questions
Should the head or the body be made first?
Either order works for separate pieces. Making the head first lets you judge the body against it and stop the body's even rounds earlier or later to get the proportion you want. In one-piece construction the order is fixed by the pattern, usually body first.
Can the head be sewn on at an angle?
Yes. With separate pieces the head can be turned slightly to one side or tilted before sewing, which gives the toy a more lively pose. Pin it in the tilted position first and look at it from the front and the side, because a small tilt is enough.
Does the body have to be the same color as the head?
No. A body in a second color reads as clothing, and a color switch partway up the body reads as trousers and a top. Keep the yarn weight and hook size the same for both pieces so the stitch sizes and neck openings still match.