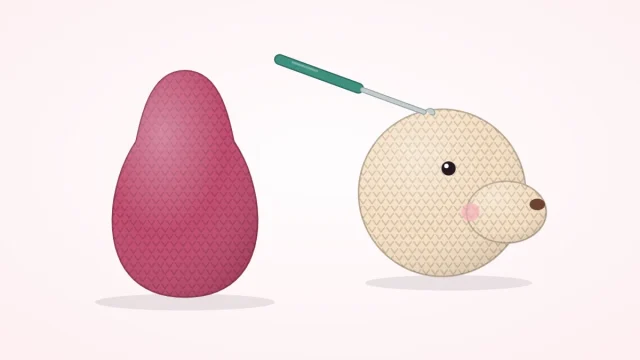
How to Stuff Amigurumi Smoothly, Without Lumps or Dents
A practical guide to stuffing crocheted toys: which filling to use, how firm each part should be, how to avoid lumps, when to stuff during the decrease rounds, and how to add weight safely.
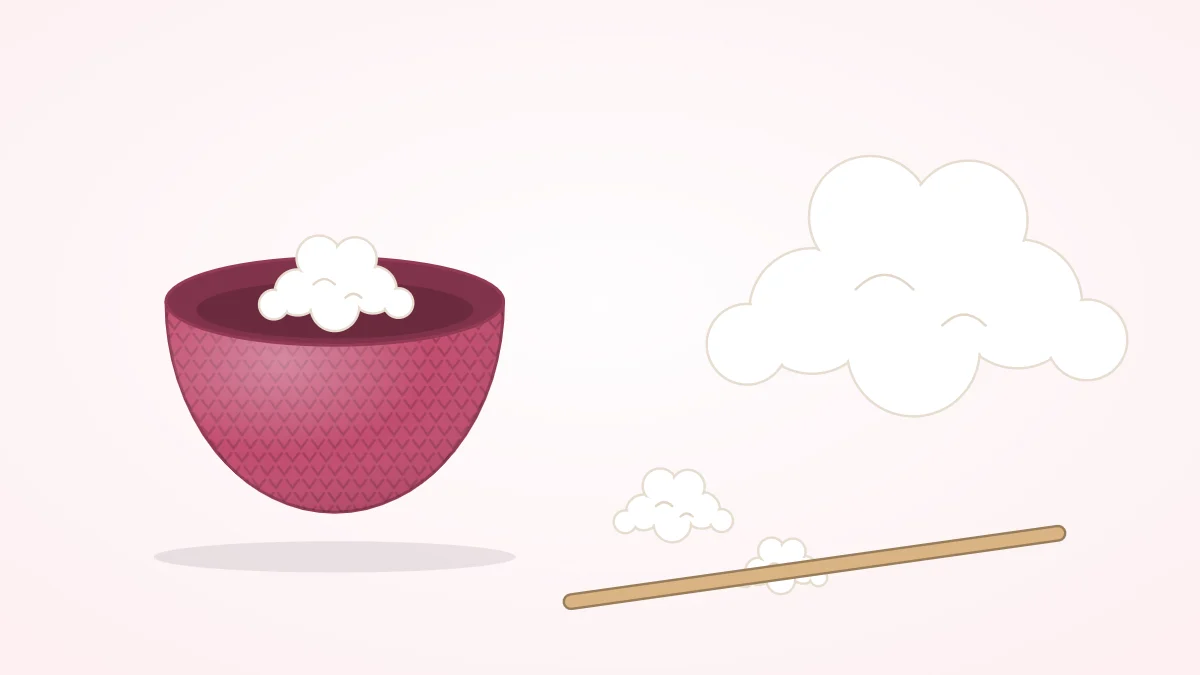
Tutorial at a glance
Materials
- Polyester fiberfill
- Wooden chopstick or other blunt stuffing tool
- Blunt tweezers for small pieces
- Blunt yarn (tapestry) needle
- Plastic stuffing pellets (optional, not for children under 3)
- Tightly woven fabric or nylon stocking for a pellet pouch
Stuffing decides the final shape of a toy as much as the crochet does. The same head can come out round, egg-shaped, dented or lumpy depending only on what goes inside it and in what order. Knowing how to stuff amigurumi comes down to a few habits: use the right filling, add it in small pieces, check the shape from the outside as you go, and finish the job before the opening becomes too small to reach through.
Choosing a filling
Polyester fiberfill is the standard choice. It is light, springs back when squeezed, dries quickly and can be washed. It is sold in two general textures: a slick, silky kind that slides into place and packs smoothly, and a coarser, springier kind that grips itself and holds firm shapes but forms lumps more easily. Either works. The silky kind is more forgiving for a first toy.
- Wool stuffing packs densely and gives a pleasantly solid feel, but it is heavier and needs gentler washing.
- Yarn scraps are tempting because they are free. They pack unevenly, weigh more, and colored scraps can show through pale fabric. Keep them for the middle of large pieces, wrapped in a layer of fiberfill.
- Cotton balls and fabric scraps compress into hard lumps and stay damp after washing. They are best avoided.
How much is enough
A well stuffed piece feels firm, holds its shape when pressed, and returns to it when released. The fabric looks full but not stretched. Fiberfill settles and compresses with handling, so a toy that feels just right on the day it is closed tends to soften later. Aim a little firmer than seems necessary.
- Too little: dents, wrinkles around the decrease rounds, a head that nods, limbs that fold.
- Too much: stitches pulled apart so the filling shows, a shape that bulges past its intended outline, seams that strain.
If the white of the filling appears between stitches before the piece feels firm, the fabric is too open for the yarn, and a smaller hook is the answer; see the guide to amigurumi hook sizes.
Stuff in small pieces
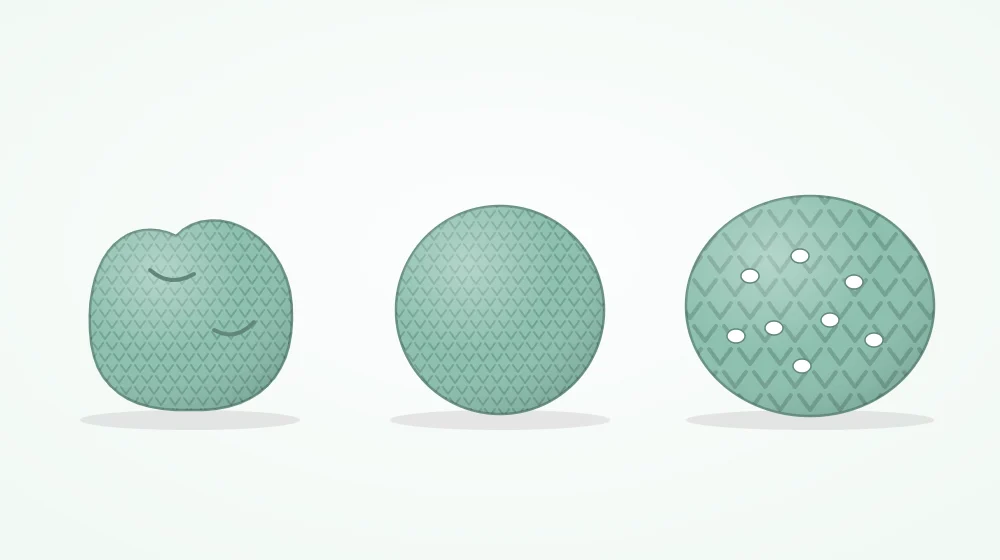
The most common cause of a lumpy toy is filling pushed in as one or two large wads. Each wad keeps its own outline under the fabric. Pull the fiberfill apart instead.
- Tear off a tuft roughly the size of a walnut, smaller for small pieces, and tease it open so it is fluffy, not balled up.
- Place the first tufts against the walls of the piece, not in the middle. Work around the inside so the outer layer is even.
- Fill the center last, adding tufts between the existing ones so they knit together into one mass.
- Press the filling toward the closed end and the sides after every few tufts, so no hollow is left behind.
Shape from the outside
Stop often and look at the piece from all sides. Roll it between your palms, squeeze where it bulges, and push filling toward where it is flat. A ball should look round from every angle; a body should sit level on the table if it is meant to sit. Correcting the shape now is a matter of moving a tuft.
How to stuff amigurumi limbs and small parts
Fingers do not fit into a tube of eight or ten stitches. Use a tool: a wooden chopstick, the blunt end of a pencil, the handle end of a crochet hook, or blunt tweezers for very small pieces. Feed in a wisp of filling at a time and tamp it down gently. Ramming a large tuft down a narrow tube leaves a hard plug at the bottom and an air gap above it.
Limbs are often stuffed unevenly on purpose. A firm hand or foot with a lightly filled or empty top lets an arm hang down and a leg bend at the hip. Whatever you choose, treat both pieces of a pair the same way. Patterns and options for limbs are covered in amigurumi arms and legs, and stuffing truly tiny pieces is covered in the mini amigurumi guide.
When to stuff during the decrease rounds
Closed shapes such as heads and balls are stuffed in stages while the opening shrinks.
- First fill. Start when the decrease rounds have brought the opening down to roughly 18 stitches. The piece is still easy to reach into and the shape is established.
- Top up. Add more at about 12 stitches. The newest rounds have created fresh space under the opening that the first fill did not reach.
- Final pinch. Before the last decrease round, push in one or two small tufts with a tool so the area right under the closure is as firm as everything else.
Skipping the last step is what leaves a soft, flat patch at the closing point.
Necks and joins
The neck carries the weight of the head and is the first place a toy goes floppy. Pack the top of the body firmly, right up to the edge, and let the filling stand slightly proud of the opening. When the head is sewn on, that extra fills the join. Before the last inch or so of the seam is closed, push in more filling through the gap with a tool until the neck does not bend when the head is tipped. The sewing itself is described in the guide to sewing amigurumi pieces together, and ways of building a steadier neck into the crochet are in amigurumi heads and bodies.
Firmness by part
| Part | How firm | Why |
|---|---|---|
| Head | Firm | Keeps the face smooth and supports embroidery |
| Body | Firm, firmest at the neck | Holds the head upright |
| Arms and legs | Firm at the end, light or empty at the top | Lets them hang or bend naturally |
| Muzzle, tail | Light | Shape comes mostly from the crochet |
| Ears, wings, fins | Usually unstuffed | Meant to lie flat |
Adding weight with pellets, safely
Plastic stuffing pellets in the base help a toy sit upright. Never pour them loose into the body, because single pellets can work out between stitches. Enclose them in a pouch first: a small bag sewn from tightly woven fabric, or the knotted toe of a nylon stocking. Put a layer of fiberfill in the base, set the pouch on it, and pack fiberfill around and above it so it cannot shift.
Watch out
Pellets, like safety eyes, beads and buttons, are a choking hazard for babies and children under 3. For that age group, leave the weight out and use embroidered features, which are the safe choice. Do not use dried rice or beans as weight in any toy: they absorb moisture and cannot be washed.
Frequently asked questions
Can I wash a toy stuffed with polyester fiberfill?
Polyester fiberfill tolerates water and dries without clumping badly, which is one reason it is the usual choice. How the whole toy should be washed depends on the yarn, so follow the care instructions on the yarn label. Reshape the toy by hand while it is damp and let it dry completely.
My toy went soft after a while. Can I add more stuffing?
Yes. Open a seam in a hidden place, such as under an arm or at the base, or carefully undo the closing round. Add small tufts with a blunt tool until the piece is firm again, then sew the opening closed with matching yarn and bury the ends inside.
Should I stuff the head before or after attaching safety eyes?
After. Safety eyes have a washer that is pressed on from the inside, so they must be fitted while the head is still open and empty. Safety eyes are a choking hazard for babies and children under 3; embroider the eyes instead for that age group.