Common Amigurumi Mistakes and How to Fix Each One
A fault-by-fault troubleshooting list for beginner amigurumi: gaps, inside-out pieces, lost counts, bumpy decreases, lumpy stuffing and lopsided limbs, each with its cause and fix.

Tutorial at a glance
Materials
- Smooth light-colored worsted weight yarn
- 3.5 mm (US E-4) crochet hook
- Locking stitch marker
- Polyester fiberfill
- Blunt yarn (tapestry) needle
- Pins for positioning pieces
- Paper and pencil for a round tally
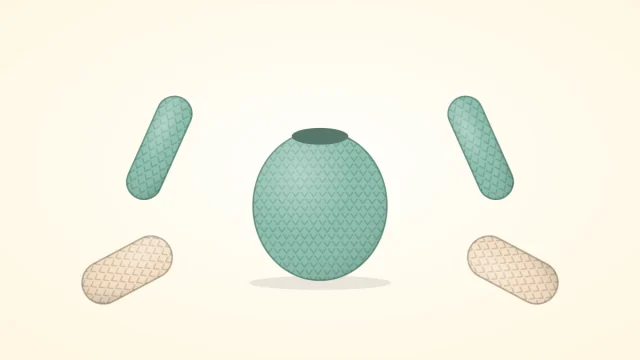
Most common amigurumi mistakes announce themselves at the same moment: the piece is stuffed, the last round is closed, and something looks off. White fluff peeks between the stitches, one ear sits higher than the other, or the head has a dent that will not push out. Nearly all of these faults have a plain mechanical cause, and most can be fixed on the piece in front of you or avoided on the next one.
Gaps that show the stuffing
Amigurumi fabric is meant to be dense enough to hide what is inside. If you can see stuffing between the stitches, the stitches are too large for the yarn. The usual causes are a hook matched to the yarn label instead of to toy-making, a relaxed grip that lets each loop grow, or stuffing packed so hard that it stretches the fabric.
- Go down a hook size, or two. Worsted weight (#4 medium) yarn is normally worked with a hook around 3.5 mm (US E-4) for toys; the guide to amigurumi hook sizes covers the other weights.
- Keep the loops you pull up short. Lifting the hook high as you draw up a loop makes a tall, loose stitch.
- Stuff until the piece is firm, then stop. If the stitches start to spread apart, take a little filling out.
Working inside out
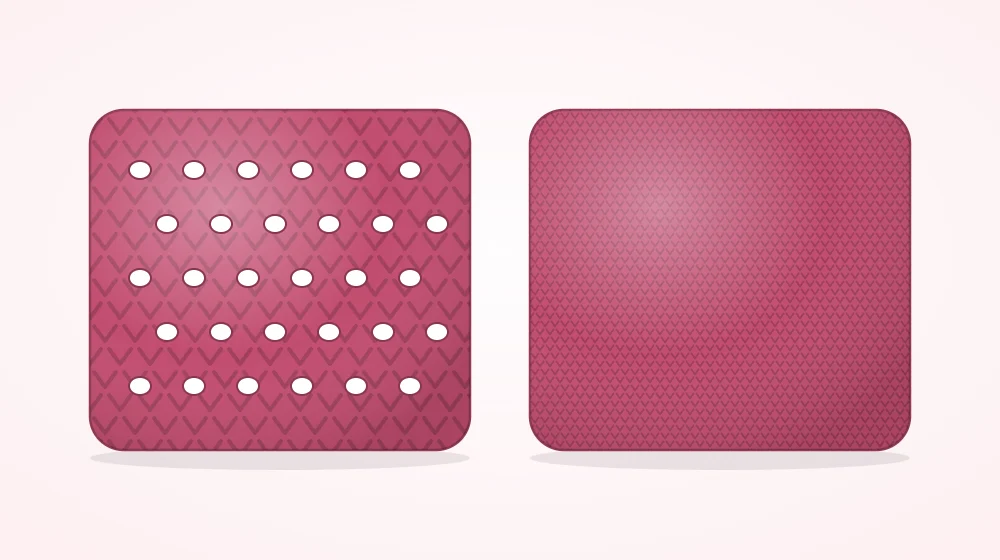
Single crochet (sc) has two faces. The right side shows neat V shapes stacked in rounds; the wrong side shows a horizontal bar across each stitch. Once a piece starts to cup it can curl either way, and beginners often keep crocheting with the bars on the outside without noticing.
Check after three or four rounds. With the right side out, the hook enters each stitch from the outside of the cup and comes out inside it. If you are reaching into the bowl to work, flip the piece like a sock so the V shapes face out, then carry on. An inside-out toy still holds together, but the decreases show more and it will not match pieces worked the right way round.
Losing your place
Losing the start of the round
Amigurumi is worked in a continuous spiral with no join, so nothing in the fabric marks where one round ends and the next begins. Clip a locking stitch marker into the first stitch of every round and move it up as soon as you make the first stitch of the next one.
If the marker falls out, do not guess. Pull back to a round whose stitch count you can confirm, mark its first stitch again, and continue from there.
Miscounting stitches
The number in parentheses at the end of a pattern line is the stitch count for that round. Count your stitches against it before moving on, at least on every increase and decrease round. The three usual slips are skipping the first stitch after the marker, working twice into a stitch that was meant to take one, and missing the stitch that hides just after an increase (inc, two single crochet in the same stitch).
One stitch out on a large round can be absorbed with an extra increase or decrease in the next round. Several out, or any error on a small round, changes the shape: pull the work back.
Decreases that leave bumps
A standard decrease pulls two whole stitches together, which leaves a small ridge with a gap beside it. On the shrinking half of a head, a ring of those ridges is easy to spot. The invisible decrease, worked through the front loops only, is the usual cure and is no harder to work once the movement is familiar.
Lumpy or sparse stuffing
Lumps come from pushing in large wads, which stay as separate balls under the fabric. Dents and floppy necks come from too little filling. Tear the fiberfill into small tufts, build the shape from the walls inward, and add the final pinch just before the opening gets too small for a fingertip. The full method is in the guide on how to stuff amigurumi.
Tip
A lump in a closed piece can often be broken up from outside. Slide a blunt yarn needle between two stitches and tease the filling toward the hollow spot.
Lopsided limbs and twisted pieces
Pairs that do not match
Two arms from the same pattern can still differ if one has an extra round or a different tension. Keep a written tally of rounds, make both pieces of a pair one after the other with the same hook, and hold them side by side before fastening off the second.
Features sewn on crooked
Pin every piece in place and look at the toy from the front, both sides and the top before sewing. The guide to sewing amigurumi pieces together walks through that check.
Pieces that twist
Stitches worked in a spiral do not stack straight above each other. Each round sits slightly to one side of the one below, so a column of stitches leans as it climbs: to the right for right-handed crocheters, to the left for left-handed ones. That lean is normal, but ears or limbs placed by counting stitches will not line up with anything several rounds lower. Position by eye and with pins instead, and when you flatten the tops of a pair of arms or ears to close them, press both flat in the same direction.
Yarn too dark to see the stitches
Black, navy and dark brown hide the loops you need to find, and fuzzy or plush yarn hides them in any color. Learn on a smooth yarn in a light or mid tone; the article on the best yarn for amigurumi explains what to look for. When a design needs a dark color, work under a strong lamp against a pale surface, and feel for each stitch with a fingertip.
Quick reference
The most common amigurumi mistakes at a glance:
| What you see | Likely cause | What to change |
|---|---|---|
| Stuffing visible between stitches | Hook too large or loose tension | Smaller hook, shorter loops |
| Bars instead of V shapes on the outside | Piece is inside out | Flip it right side out |
| Count wrong at the end of a round | Skipped or doubled stitch, lost marker | Count every round, move the marker up |
| Lumps or dents | Large wads or too little filling | Small tufts, top up before closing |
| Features drift sideways | Natural lean of spiral rounds | Pin and judge by eye |
Frequently asked questions
Do I have to start over if I find a mistake several rounds back?
Not always. A single stitch out on a large round can be absorbed with one extra increase or decrease in the next round. If the count is several stitches out, or the error sits on a small round near the start, the shape will change, so pulling the work back to the last correct round is the more reliable choice.
Why does my amigurumi look different from the pattern picture even though my counts are right?
Yarn, hook size, tension and stuffing all change the result. A looser fabric or softer stuffing gives a larger, floppier piece, and the position of sewn-on parts changes the character a great deal. Matching the stitch count only gives you the same structure, not the same look.
Can I fix a gap in a finished toy?
A single hole can be closed by threading matching yarn on a blunt needle, drawing the two neighboring stitches together from the outside and burying the ends inside the piece. Gaps across the whole fabric cannot be closed this way. Taking out a little stuffing reduces the stretch, and a smaller hook prevents it next time.