Amigurumi Cat Pattern: A Simple Sitting Cat With Pointed Ears
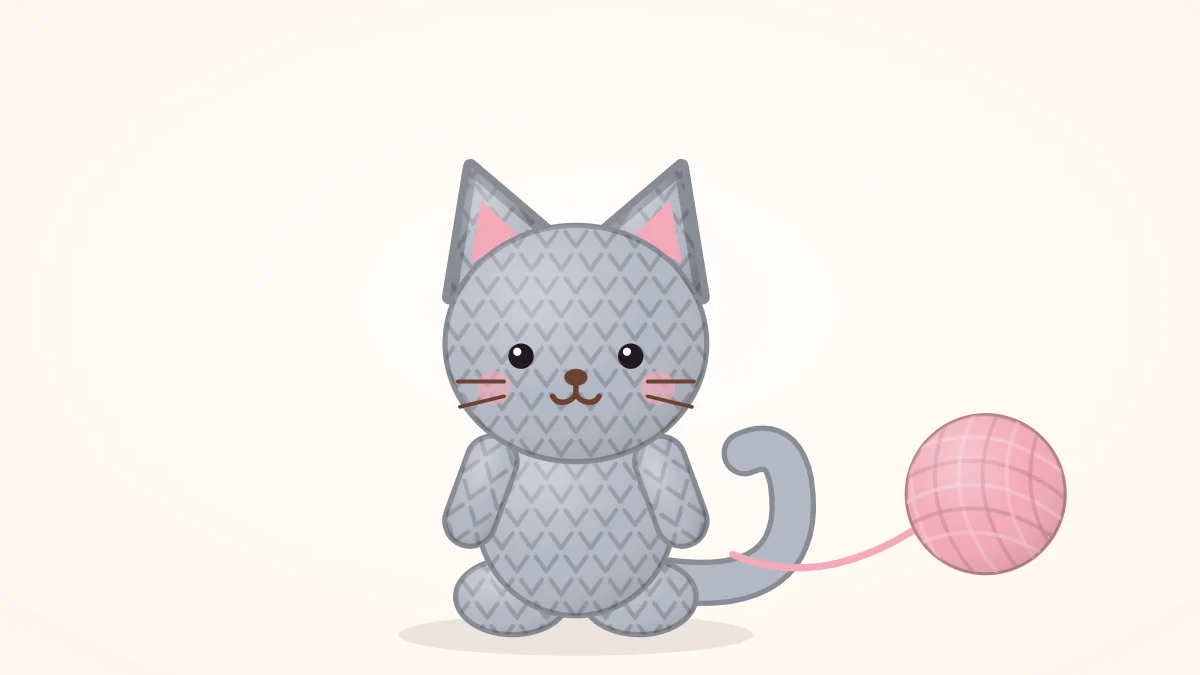
A simple sitting cat with a wide head, a small body, flattened-cone ears and a long curved tail, plus nose and whisker embroidery and coat color ideas.
Tutorial at a glance
Materials
- Soft gray worsted weight yarn
- Two 6-8 mm safety eyes or dark yarn
- Pink yarn for the nose
- Dark or white yarn for the whiskers
- Polyester fiberfill
- Locking stitch marker
- Blunt yarn needle and pins
Two flattened cones and a long tail are what make a ball-on-a-ball read as a cat. This amigurumi cat pattern pairs a wide 36-stitch head with a small 24-stitch body, so the finished sitting cat is designed to be mostly face: about 4 in (10 cm) tall to the ear tips, depending on yarn and tension.
Materials
- Worsted weight (#4 medium) cotton or acrylic yarn in soft gray, or the coat colors discussed below
- 3.5 mm (US E-4) hook
- Two 6-8 mm safety eyes, or dark yarn to embroider them
- Pink yarn for the nose and dark or white yarn for the whiskers
- Polyester fiberfill, a locking stitch marker, a blunt yarn needle and pins
Safety eyes are a choking hazard for babies and children under 3; for a young child, embroidered eyes are the safe choice.
Abbreviations
- MR: magic ring
- st(s): stitch(es)
- sc: single crochet
- inc: increase, 2 sc in the same stitch
- dec: invisible decrease, sc 2 stitches together through the front loops
- Rnd: round
- FO: fasten off
All pieces are worked in a continuous spiral, right side out, with a stitch marker in the first stitch of each round. If the decreases leave bumps, the invisible decrease guide shows the front-loop method in detail.
Head and body
The head has only five even rounds at its widest point, which keeps it a little wider than it is tall. Head and body both finish at 18 stitches so the neck edges line up.
Head (make 1)
- Rnd 1: 6 sc in MR (6)
- Rnd 2: inc x 6 (12)
- Rnd 3: (sc 1, inc) x 6 (18)
- Rnd 4: (sc 2, inc) x 6 (24)
- Rnd 5: (sc 3, inc) x 6 (30)
- Rnd 6: (sc 4, inc) x 6 (36)
- Rnds 7-11: sc 36 (36)
- Insert the safety eyes between Rnds 9 and 10, with 8 stitches between them.
- Rnd 12: (sc 4, dec) x 6 (30)
- Rnd 13: (sc 3, dec) x 6 (24)
- Rnd 14: (sc 2, dec) x 6 (18)
- Stuff firmly, shaping the head wide rather than tall. FO with a long tail.
Body (make 1)
- Rnd 1: 6 sc in MR (6)
- Rnd 2: inc x 6 (12)
- Rnd 3: (sc 1, inc) x 6 (18)
- Rnd 4: (sc 2, inc) x 6 (24)
- Rnds 5-8: sc 24 (24)
- Rnd 9: (sc 2, dec) x 6 (18)
- Rnds 10-11: sc 18 (18)
- Stuff firmly. FO and weave in the tail.
Front paws (make 2)
- Rnd 1: 6 sc in MR (6)
- Rnds 2-5: sc 6 (6)
- Stuff lightly. FO with a long tail.
Pointed ears and tail
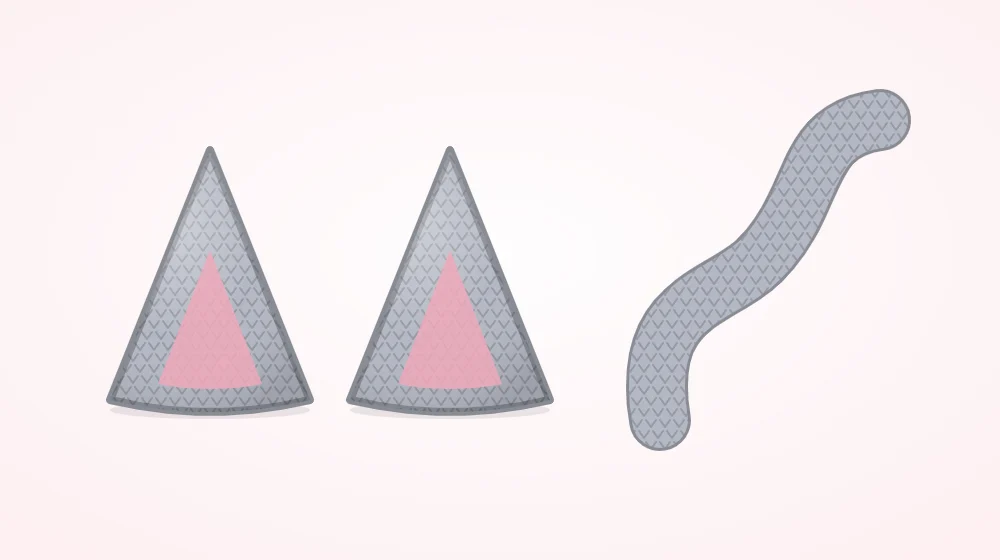
Each ear is a cone that grows by two stitches a round. Starting with only four stitches gives the tip its point.
Ears (make 2)
- Rnd 1: 4 sc in MR (4)
- Rnd 2: (sc 1, inc) x 2 (6)
- Rnd 3: (sc 2, inc) x 2 (8)
- Rnd 4: (sc 3, inc) x 2 (10)
- Rnd 5: (sc 4, inc) x 2 (12)
- Do not stuff. FO with a long tail and press the cone flat into a triangle.
Tail (make 1)
- Rnd 1: 6 sc in MR (6)
- Rnds 2-16: sc 6 (6)
- Stuff very lightly as you go, or leave empty. FO with a long tail.
To curve the tail, thread the starting yarn end onto the needle and run it up one side of the tube, through one stitch every other round. Pull gently until the tail bends toward that side, then knot the end inside.
Tip
A six-stitch tube is fiddly on the first rounds. Keep the marker in place on every round, because a narrow spiral gives no other clue to where a round begins.
Assembly
- Head to body. Match the two 18-stitch openings and sew stitch to stitch, topping up the stuffing at the neck before closing.
- Ears. Pin each triangle on the upper side of the head across Rnds 3-8, with about 6 stitches of crown between the inner corners. Tilt the outer corners slightly down the side of the head, curve the base a little forward, and sew through both layers.
- Paws. Sew the open ends to the front of the body just under the neck, side by side, pointing down.
- Tail. Sew the open end to the center back at Rnd 2 or 3 of the body and bring the curve around one side. A stitch or two through the tail into the body holds it in place.
Pinning and stitch choices are covered in how to sew amigurumi pieces together.
Nose and whiskers
With pink yarn, work three short horizontal stitches between the eyes, centered over Rnd 10, each one a little shorter than the one above so they form a small triangle. From its point, add a short vertical stitch and two tiny slanted stitches for the mouth.
For whiskers, bring the needle out one stitch to the side of the nose and make two or three long straight stitches fanning toward the cheek, each about three stitches long. Repeat on the other side as a mirror image. Embroidered whiskers stay flat and cannot be pulled out, unlike knotted strands. More expressions are shown in amigurumi face embroidery.
Choosing coat colors
| Coat | Where the color goes |
|---|---|
| Solid | One color throughout; a white tail tip or white paws add interest. |
| Tabby | Stripe the body and tail with one round of a darker shade after every two rounds of the main color, and embroider three short dark lines on the forehead. |
| Calico | Work the cat in white, then make one ear orange, one ear black, and the tail in either. Sew on a small flat orange or black disc as a body patch. |
| Tuxedo | Black head and body with white paws and a white flat disc sewn under the chin. |
The amigurumi cat pattern above is written for one yarn, and every variation uses the same stitch counts. Keep the head a single color on a first cat, since stripes across the face make eye placement harder to judge. Switching yarns cleanly in a spiral is explained in amigurumi color change.
Common problems
- Ears look like horns. They are too close together or too upright. Move them outward and tilt them.
- The head rolls forward. Stuff the neck harder and sew the join a second time.
- The tail will not stay curved. Pull the shaping thread tighter, or tack the tail to the body at one more point.
Frequently asked questions
Why do the cat ears start with 4 stitches instead of 6?
Fewer starting stitches make a sharper tip. A six-stitch start gives a rounded end that looks more like a bear ear once it is flattened. Four stitches are tight to work into, so pull the ring closed only after the round is complete.
Can the tail be made without stuffing?
Yes. A six-stitch tube in worsted weight yarn holds its shape with no filling, and an empty tail curves more easily. Add a little fiberfill only if the tube looks flat.
How can the cat be made to look like a kitten?
Keep the head as written and shorten the body by one or two even rounds, so the head looks larger by comparison. Placing the eyes one round lower and slightly wider apart also gives a younger look.